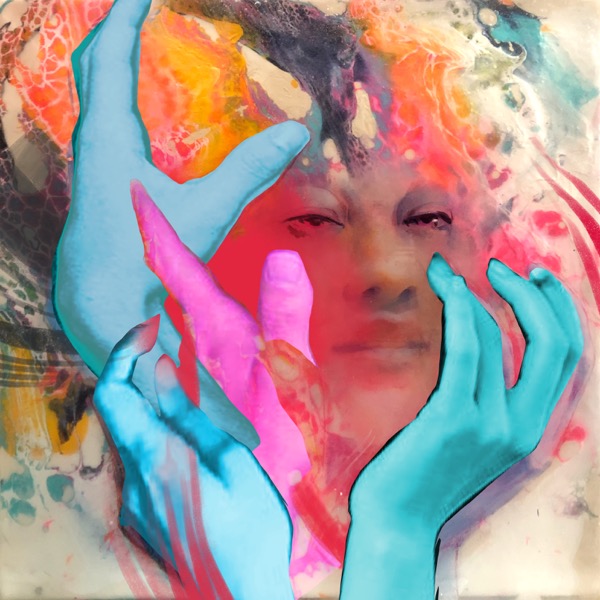
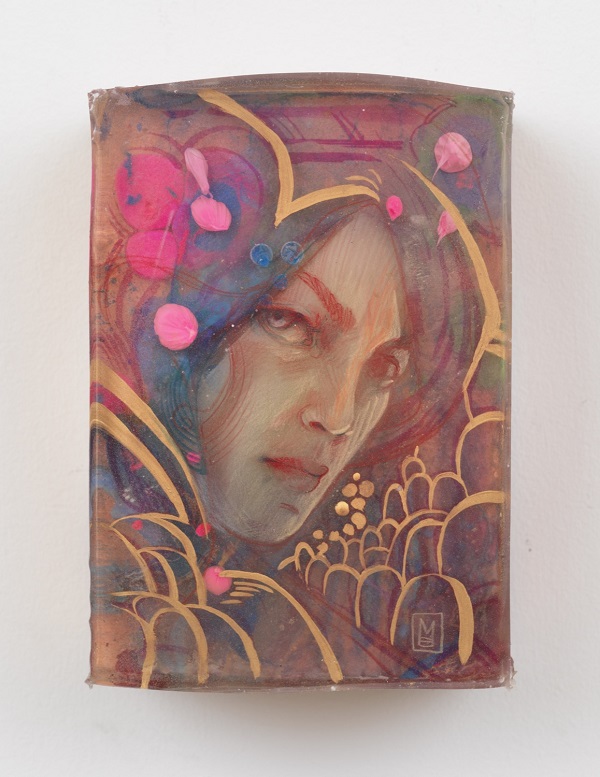
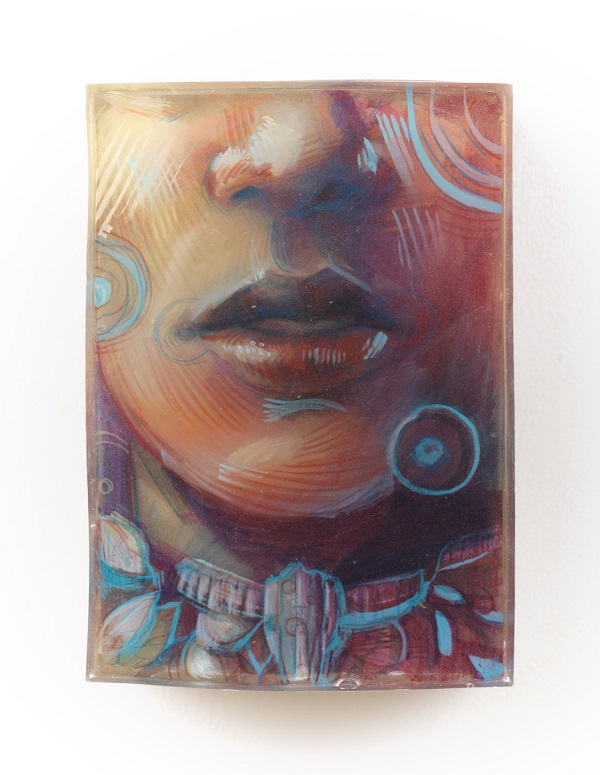
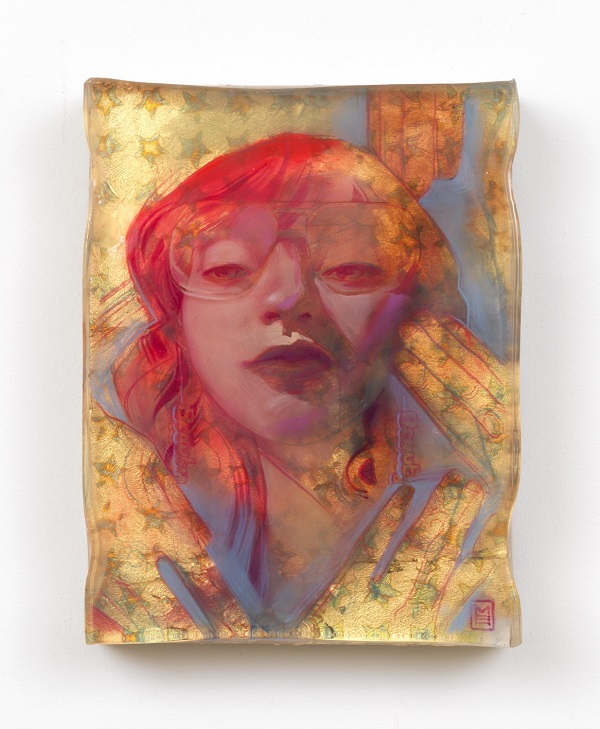
Along with time and skill, there is also an energy that brings an artist’s piece to life. We often don’t get to see these early beginnings as a viewer but they are the soul of the work we see. The studios in which the pieces are brought to life, the artist’s time and dedication, a well thought out colour palette that holds meaning and purpose. We are so pleased to share resin artist Marc Scheff’s journey into his process with you today. Marc has generously shared some intimate details of his life and the evolution of his works.
If you want to continue following Marc’s journey, please follow him on Instagram.
There is no such thing as an “artist’s life.” There is no single definition, no one way to do this. The assumptions I had were all romantic.
I’ve been an artist my whole life, even when it wasn’t my career. My goals and desires for creating work shift from year to year. The one thing I can rely on is that what my life looks like as an artist will change. The kind of upheaval that this requires can feel overwhelming. I think of Octavia Butler’s character Olamina who said, again and again, “God is change.” It’s a good reminder that to evolve, to even exist, change is part of the deal. It’s not a way, it’s the way.
What work I make may change, even if I make work may change, but there are a few things about my process upon which I rely:
Curiosity.
Grit.
Authenticity.
These words describe a kind of focused openness that I have in my approach to life and art that I believe has served me well. I’m not afraid to ask a lot of questions, and I seek failures to build a stronger process. In plain terms my process is this: I spend time working with materials, I see what they can and can’t do, and then I spend time using what I found to make the work.Note: I want to be very open here about my successes: my focused openness and my ability to seize opportunity works because I have had certain privileges. I don’t necessarily get handed success, I work hard. However, as a white man in America, what I do have is far fewer obstacles in my way. For example, I am not also focused on surviving in a society where I am unsafe or my kids are unsafe or we are denied access to anything because of my race, sexual identity, or preference. There are ways that I believe we should spend time elevating the voices that get pushed down by the simple act of being, but that’s another article.I don’t subscribe to the advice “Just do what you love, success will follow.” I think you have to love art if you’re going to make it, a thousand times yes. But that’s not a guarantee for anything in return, especially if environmental factors are working against you. I want to change that reality, actively, but here we are for now.
That said, I do authentically love what I do. I’m grateful I have the space in my life to do it.
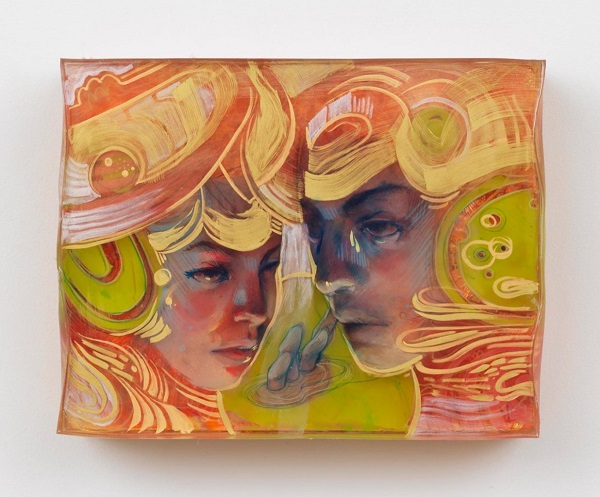
With that, my process for “Glorious” was one that came out of a long summer of experiments, and a fall of finishes. This is typical for me. I alternate between periods of exploration and discovery with no clear goals or outcomes, followed by intense production, and back again. I might spend three to six months on a body of work, where three are spent working just with materials, not on “finishes” and seeing what stuff does what.
I had just completed and sold my “Mother Mary” piece through a group show in September (at Corey Helford Gallery curated by Chogrin). In that piece, I decided to layer with more opaque materials and cooler values than I have in the past. When Corey Helford invited me to create another work for a group show there, I had already completed the experimentation, and even had a successful run with a finished piece, so I was clearer on how to proceed.
BEGINNING
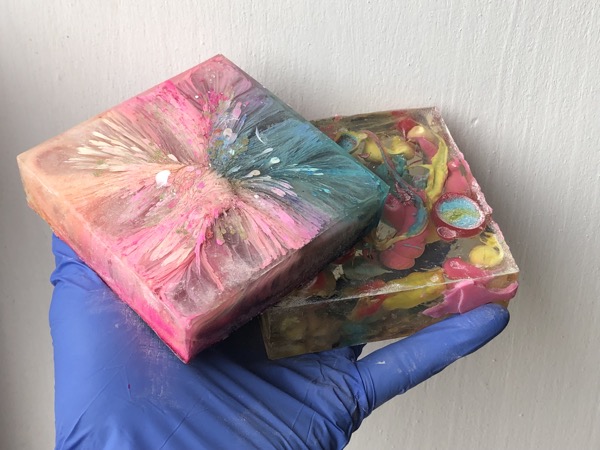
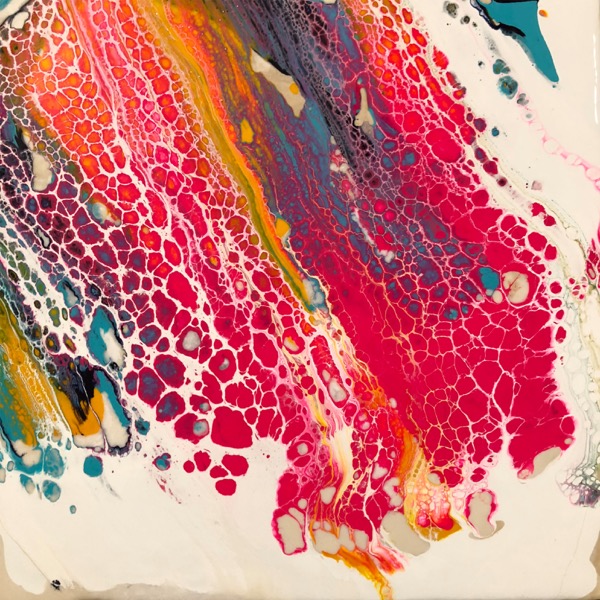
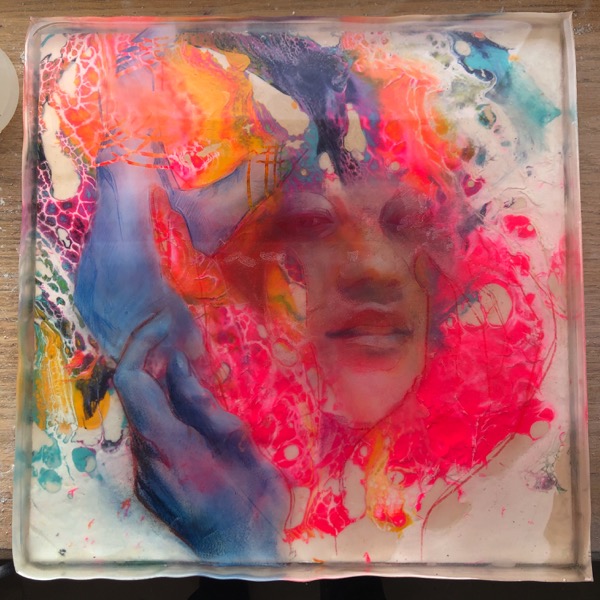
First, I worked up a layer using fluid abstraction techniques I researched over the summer. I spent hours on YouTube and researching paint densities, along with my own experiments with different media, brands, and recipes. I also credit a few very generous artists who shared their knowledge with me. @Rickachinoart on Instagram, for example, took a lot of time with me over direct messages sharing his tips and feedback on what I was doing. Our work looks nothing alike, not at all, but he knew a lot about an area I wanted to learn about. I mention this not merely as a thank you, but because this is a big part of how I make work. I find inspiration and I ask questions. I try things and look for feedback from people doing those things well. I get plenty of no-replies, and lots of people who didn’t want to share their process. Then I keep looking and experimenting.
I have a very specific thing I looking to create with the techniques I developed over the summer, which means sometimes I pour, wipe it all off, and start again. This first layer has to have movement, it has to have a story, and it has to have potential with the work I’m creating. It has to feel right and pull me in.
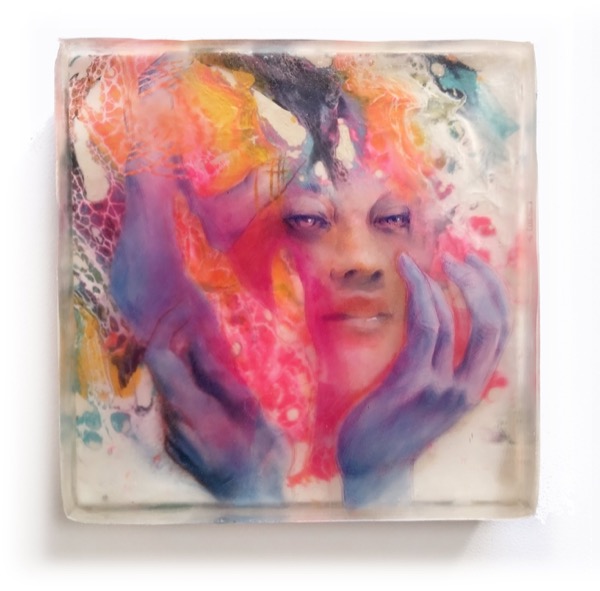
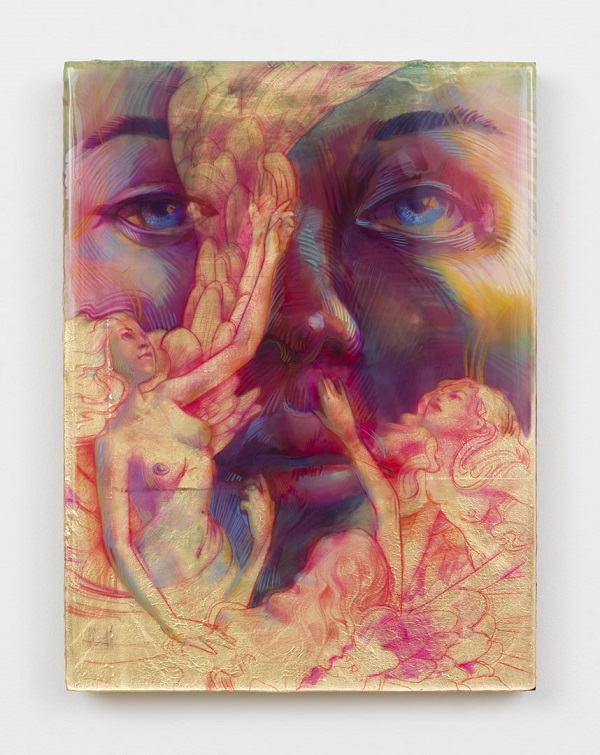
The images here are one of rejected experiments (not without potential) including injected paint, and the second is the painting that called me to create “Glorious”.
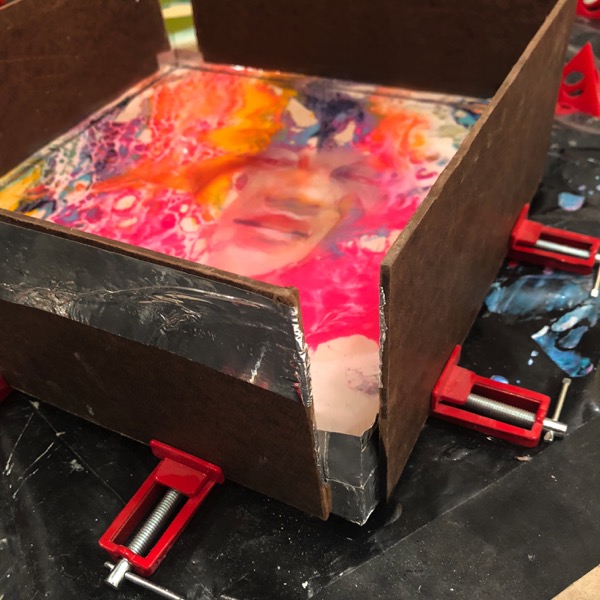
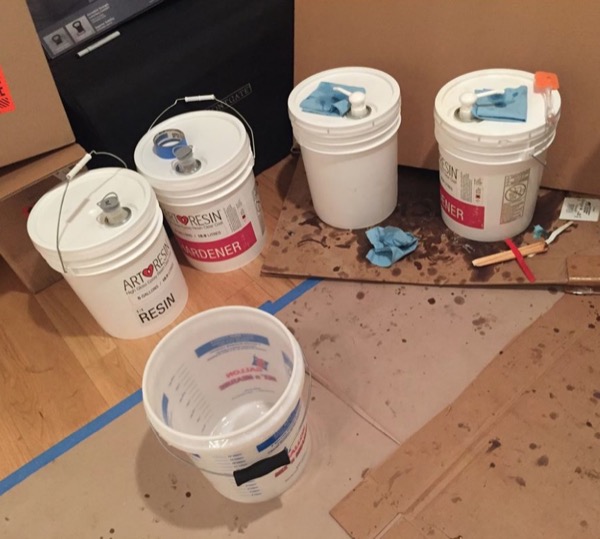
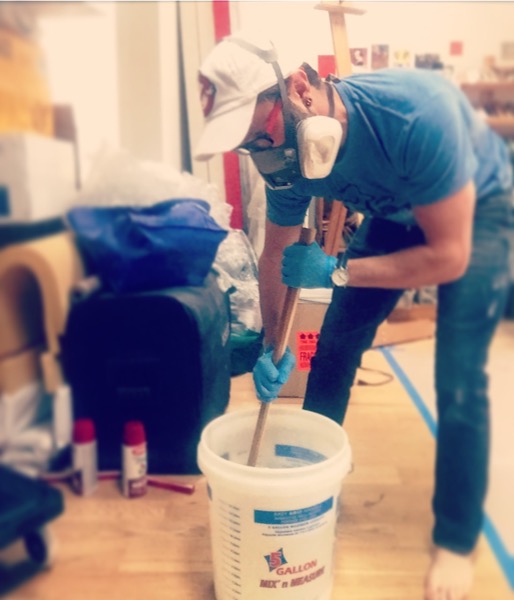
At this stage, I pour a thick layer of ArtResin resin. I use ArtResin because it’s designed for artists; it’s non-yellowing and non-toxic. I pour thick layers because I want the portrait to be visibly separated from the background. To do this, I use aluminum tape (a trick I discovered on ArtResin’s website). You have to seal the tape so very securely because resin tries very hard to escape. It’s heartbreaking to pour a gallon of resin and watch it all leak out on to the floor. So, I burnish the tape with the butt of a plastic palette knife. I sometimes pour water once the tape-mold is done just as a test to see if there are leaks.
Then I pour the resin, usually about a quarter inch in the layer. Pour slow and blowtorch for bubbles. Then, I wait.
I always have about 10-12 pieces going at once. The resin takes a few days to fully cure, so while some dry I work on others. Then there are the mystery pieces, the ones I can’t see where to go. They hibernate in plain sight until I know what they need. The process I’m describing for this single piece is the order that things happened this time. These things don’t always happen in a row and they certainly don’t happen within even a few days of each other.
Each step is here is a habit. Drawing. Pouring. Experimenting. There’s also sketching, journaling, and the rest of my life happening around the work I make. This is where authenticity really comes in, where the life experience infiltrates the art experience. On my best days, these habits all pick up and build on each other and in the end, there’s art. On my not-best days, that’s where grit comes in.
PLANNING
For “Glorious” the first layer was the key, and the subsequent layers were planned after. I do keep a sketchbook, and I do keep lots of ideas in there for work. But for this piece, I needed to see the abstract layer first before finding the model who matched the feeling and flow of the piece.
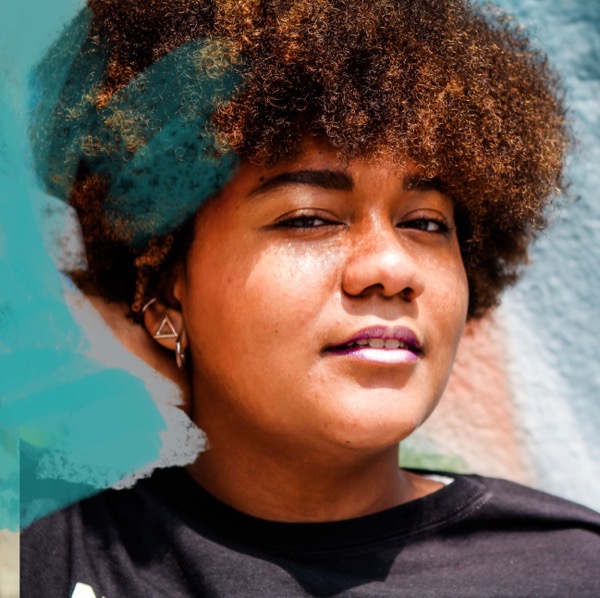
I’m very fortunate, and I have someone helping me in my studio. When I was looking for an assistant, I assumed I wanted a painter of some kind to help me out. I agreed to interview Sarah Guilbeaux, even though she is a photographer, and we clicked immediately. I thought about it and upon that reflection, the help I needed didn’t require training as a painter. In fact, Sarah’s photography has been a great resource for wonderful, emotionally focused photos of compelling subjects.
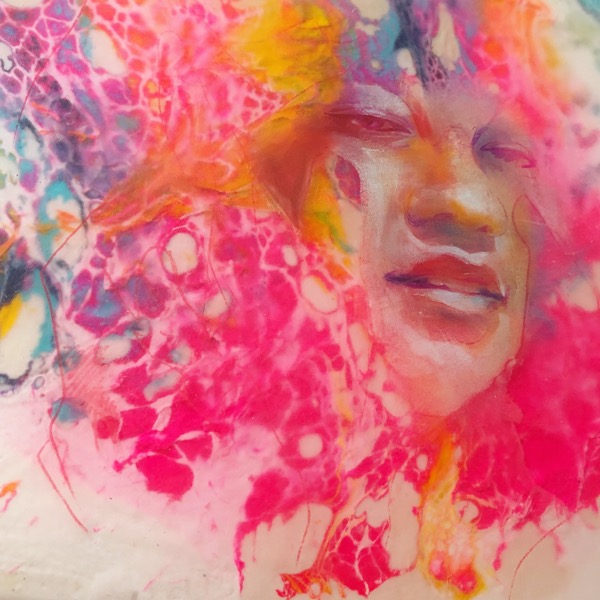
“Glorious” is certainly a more planned version of my work. But, so much happens along the way, the finish is never fully predictable.
BUILDING TO THE FINISH
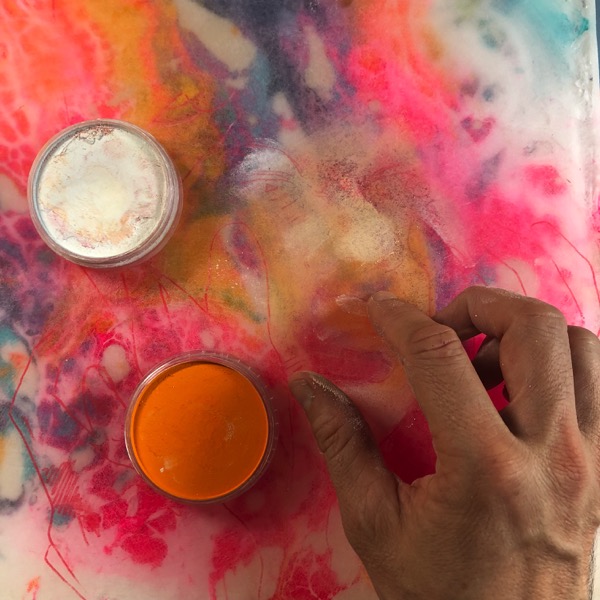
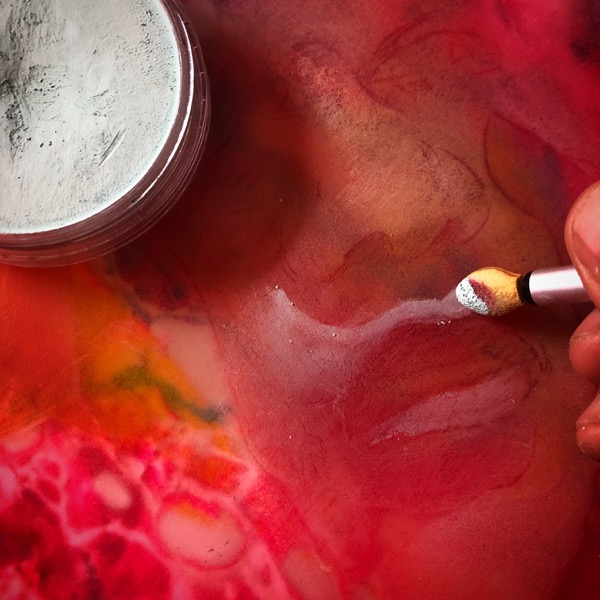
Once the resin dries, I sand the surface down. You can’t draw or paint on smooth resin in the way that I want to draw and paint. It’s like using pencil on a sheet of glass. I use a palm sander at various grits to get the surface to feel just papery enough. Now I can draw, paint, push around pastel, and really use any medium. For brushes I do prefer Trekell Brushes, and have a variety on hand. Lately I really like the synthetic squirrel for their physical flexibility, and mark flexibility from the pointed shape.
For “Glorious”, however, I stuck with pan pastels, pencil, and a variety of brush pen inks.
I intentionally wanted to keep the images on single layers. Much of my work, you’ll find images spread out across six or ten layers. For this piece, I wanted each element to sit on its own which took a little more Photoshop planning along the way.
I transfer my drawing, and paint, draw, or wipe material across the surface. I use brushes, q tips, make up applicators, fingers, palette knives, whatever is the right tool for that moment. Once that layer is complete, I spray fix, build an aluminum tape mold, and pour another thick layer.
The best way I’ve found to pour thick is to pour thin, wait, and pour again. One thin layer, blowtorch all the bubbles out. Then pour again. In some cases, when I do want the bubbles, I can pour thicker out of the gates.
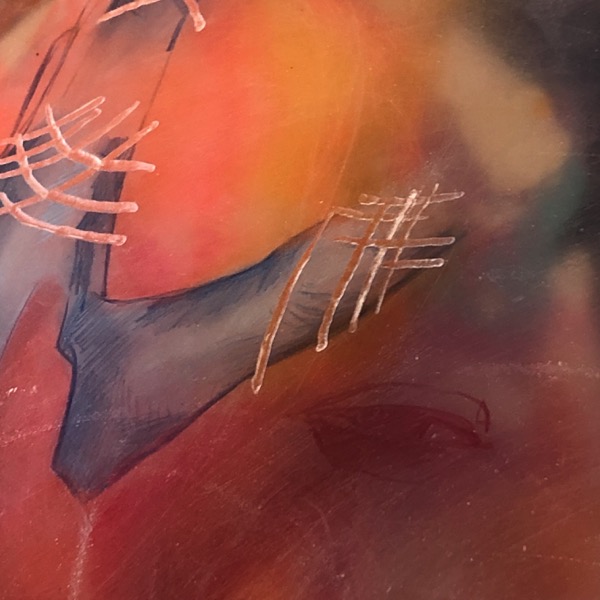
To create windows through layers, I used a dremel to cut into the resin surface. When you pour resin over sanded, drilled, or scratched resin it fills in the cracks. It goes clear as glass again.
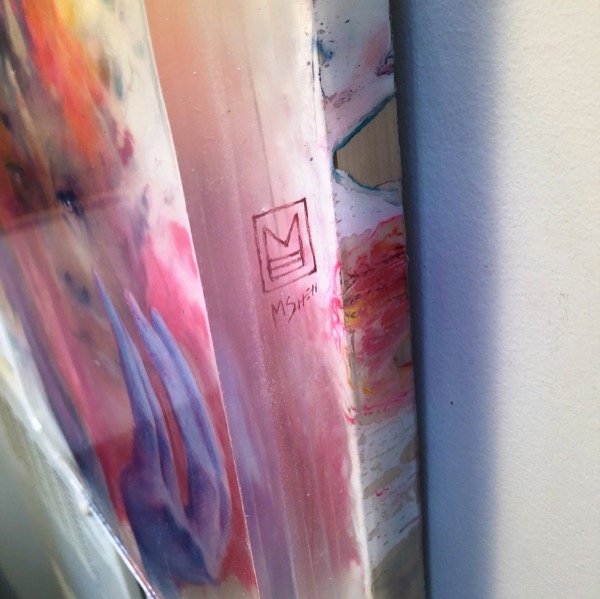
Once I’m happy with the piece, I get to do my favorite part, my unique side signature. For this last layer, I sand down the sides, sign, and build a new mold. I use a few different materials for the final mold, and that varies depending on the finish I want. If I can, I love using the silicone molds I had custom manufactured for my work. The key with any material is the mold release, which you can get at Smooth-On, so the resin won’t stick to the sides. Different materials will get you different finishes on your sides, though I prefer somewhere between a satin and gloss texture so you can see into the piece clearly. I recommend experimenting and finding your own favorite.
Again, this is where curiosity and grit come in. I can’t tell you how many times I thought had “the answer” for some part of this process. I’d sink some time and some money into building something only to watch it clearly and unapologetically fail. Everything comes into question. Was the method wrong? Was the thing I thought I wanted to do even the thing I needed to do? Curiosity kept me trying more, and grit kept me from giving up.
“Glorious” is almost done. After a final layer to seal in the sides, I’ll do one final domed layer, or sand with a fine grit for a soft corner and seal with polycrylic. A dome layer works very much the same as other layers, but no mold. You can push the resin right up to the edge and the surface tension will hold it in place. This creates a nice rounded edge.
I feel so fortunate and grateful for the response I’ve seen to this work I’m creating and developing. There was a clear moment when curiosity turned me onto this path, authenticity helped me create work here, and grit kept me moving through the work. With everything I shared above, there’s always more to discover. Even as I write, there is a new fleet of art pieces taking the best of what I know and new experiments into 2019. With that, a new set of challenges and questions. I look forward to discovering and sharing more.
Upcoming Exhibitions:


