Openly sharing her journey on social media, Emanuela Nesko has been traversing the trails of self-identity as an artist. Creativity has been an important tool to help her process and heal from childhood trauma, and following her journey since we last spoke, it’s a delight to see her further progression into mixed media. An image which marks an important turning point in her career is her recent work, ‘The Demons in My Head’. Moving from a blend of photography and digital manipulation, Emanuela Nesko forges a new path forward by adding traditional media not only into the design process itself, but also to her prints, ensuring a unique outcome every time.
A graduate of the University of Fine Arts in Madrid, mixed media artist Emanuela Nesko merges physical props with photography and digital enhancements to create eye-catching, symbolic images. By further pushing the boundaries of experimentation, we see Emanuela developing her ability to express heartfelt narratives and emotions which are both easily relatable, and deeply personal. This is part her of her charm; focusing on self-portraiture, her vulnerability helps us to form an even deeper connection to the images before us.
Hand-crafting multiple elements, I found the design process behind her latest work so fascinating that we had to share. Read more about the making of ‘The Demons in My Head’ below.
Emanuela Nesko: ‘The Demons in My Head’
I have two main workflows for creating an artwork. One is to start with an idea of an image that I have in my head and develop it, understanding the theme and trying to figure out the concept as I create it. The other is to choose a theme and create everything around it. I decide what colours to use, props, location, symbolism, etc. to express the concept more accurately. The first is more intuitive and the second is planned and executed with a specific theme or message in mind.
The sketch
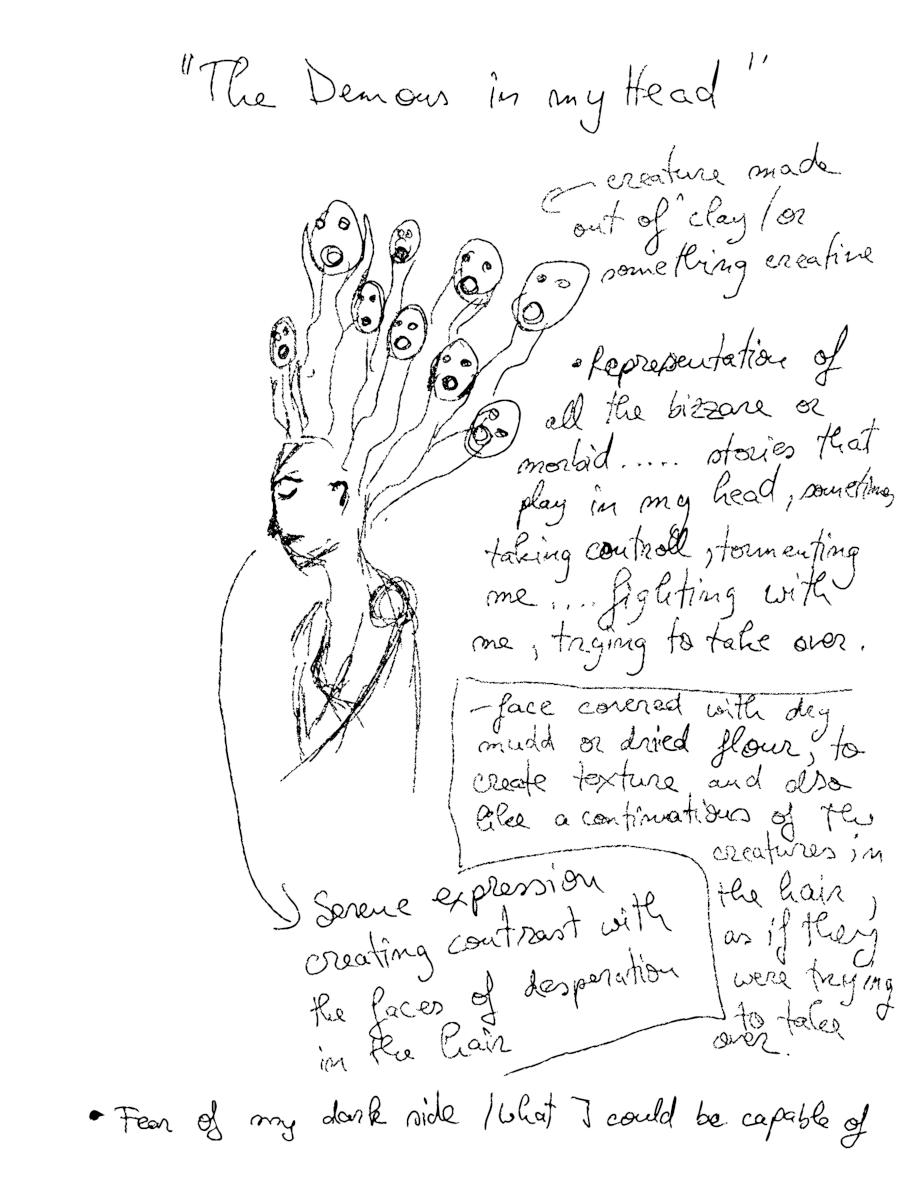
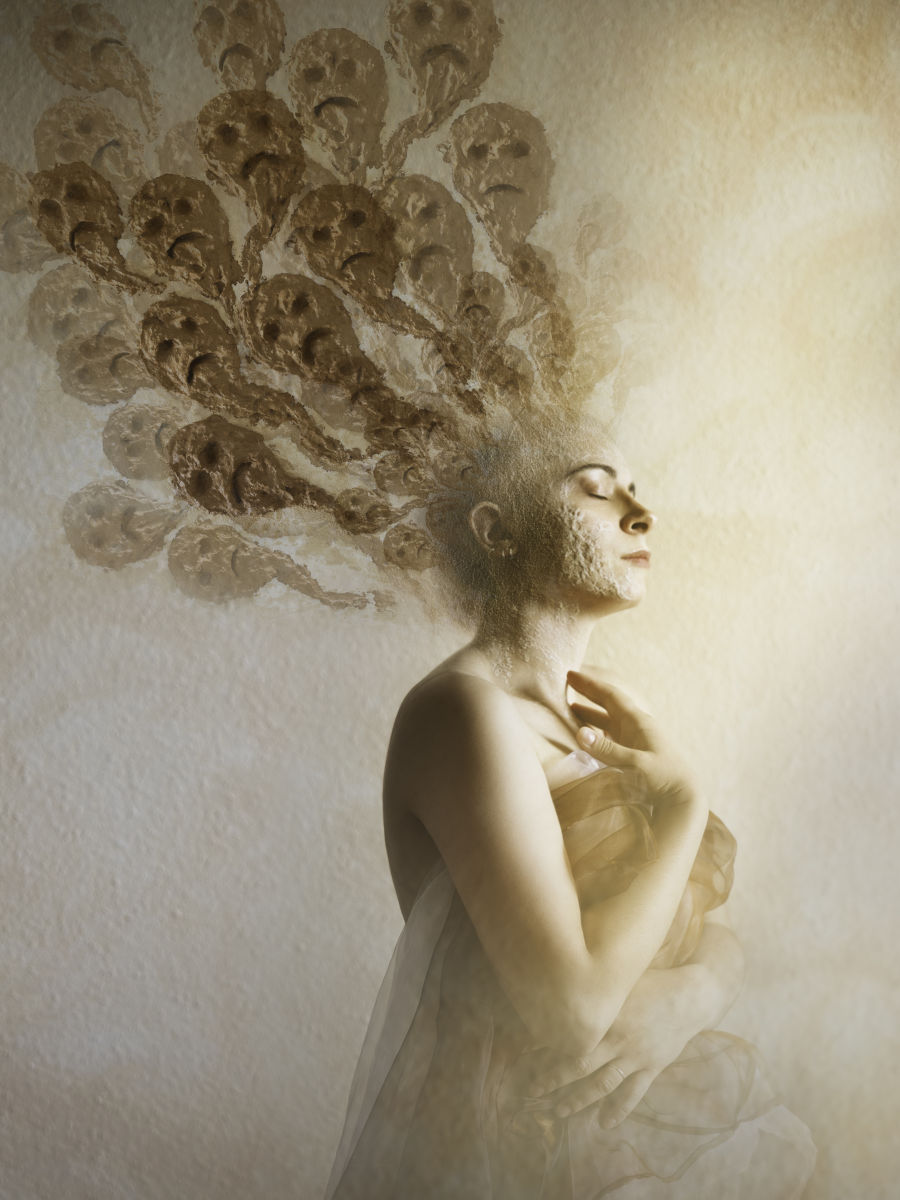
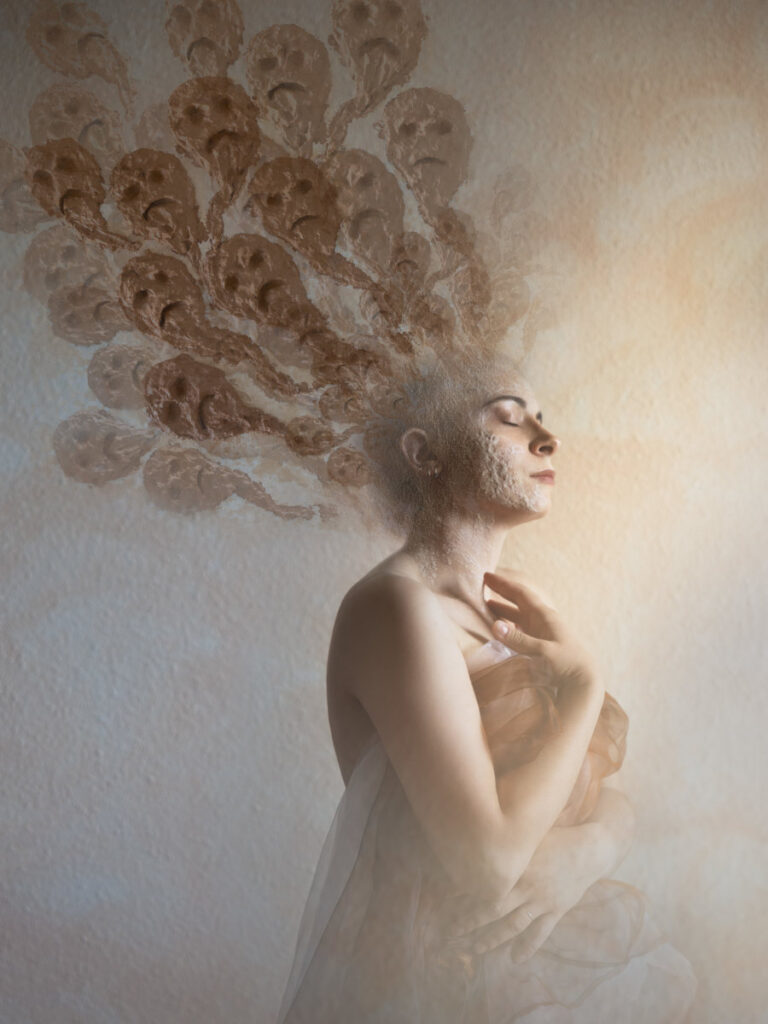
For ‘The Demons in My Head’, I kept having this image in my mind of demons coming out of a person’s head. These figures represent negative or overwhelming thoughts that I sometimes have. I usually start with a rough sketch of the idea I have and write down notes, glimpses of thoughts, and what the concept is about.
The shoot
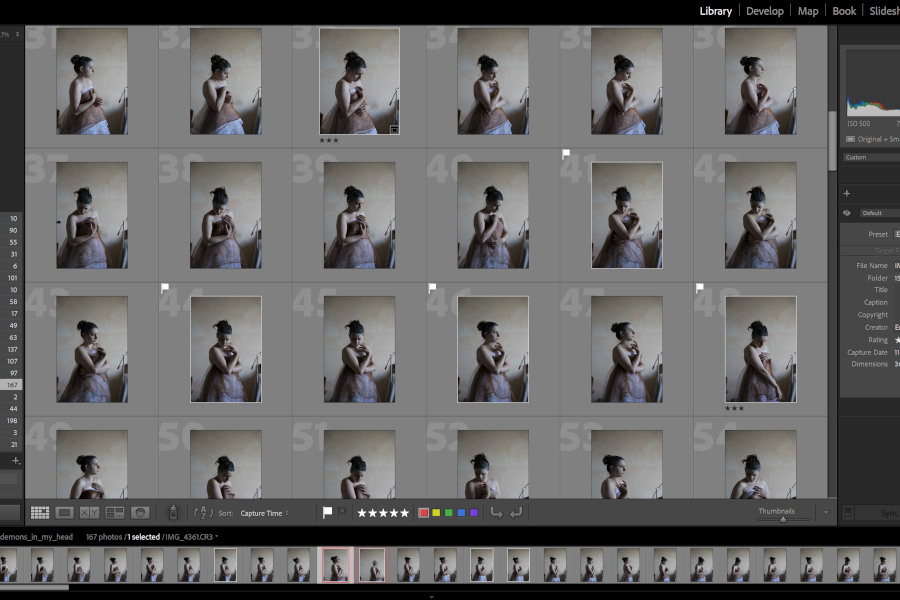
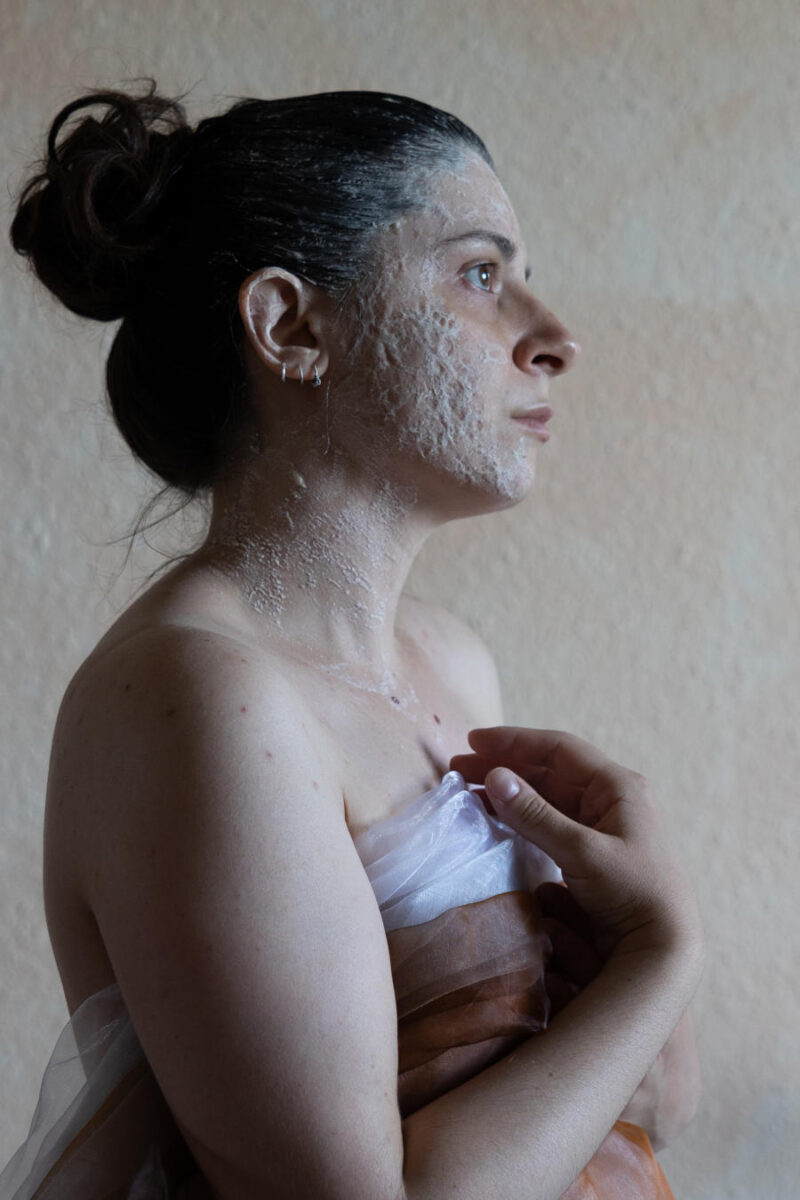
Once I have a concept, it’s time to shoot. I plan exactly what I need to photograph, but during the shoot I also experiment with different poses and angles. That way I have enough images to choose from. Since most of my images are self-portraits, I put my camera on a tripod and connect it to an app on my phone. This way I can see what the picture looks like without having to go to the camera to see what I took. It also allows me to use the phone as a remote for the camera and to see if the pose is right before I take the picture.
The shooting of this picture has a very interesting story. I shot it in the home of a very nice lady I met because I took care of her cat a few times while she was on vacation. I told her what I was doing and that I found her apartment very interesting. So, I asked if it would be okay if I took some pictures there, and she agreed. Some of my other artworks from that year are there as well, and some from 2023.
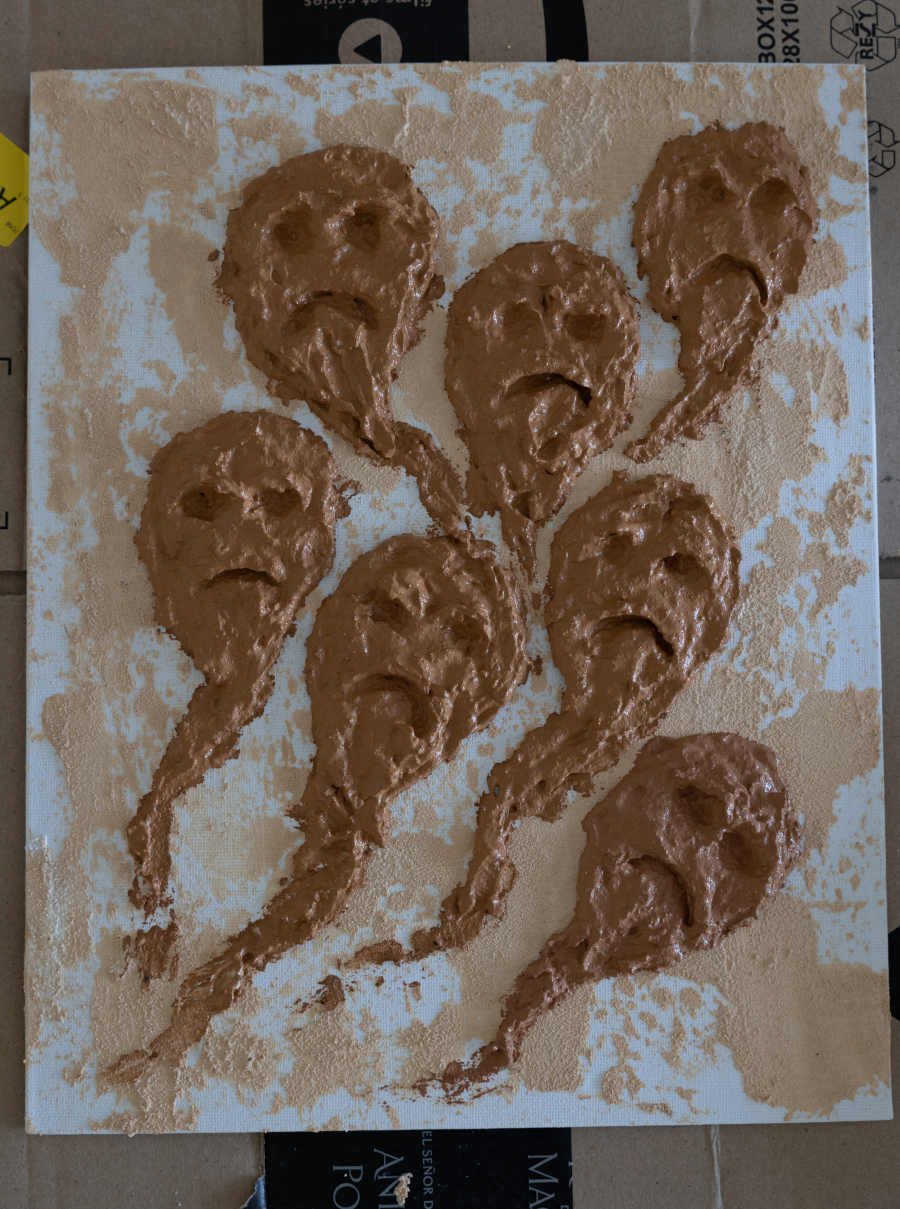
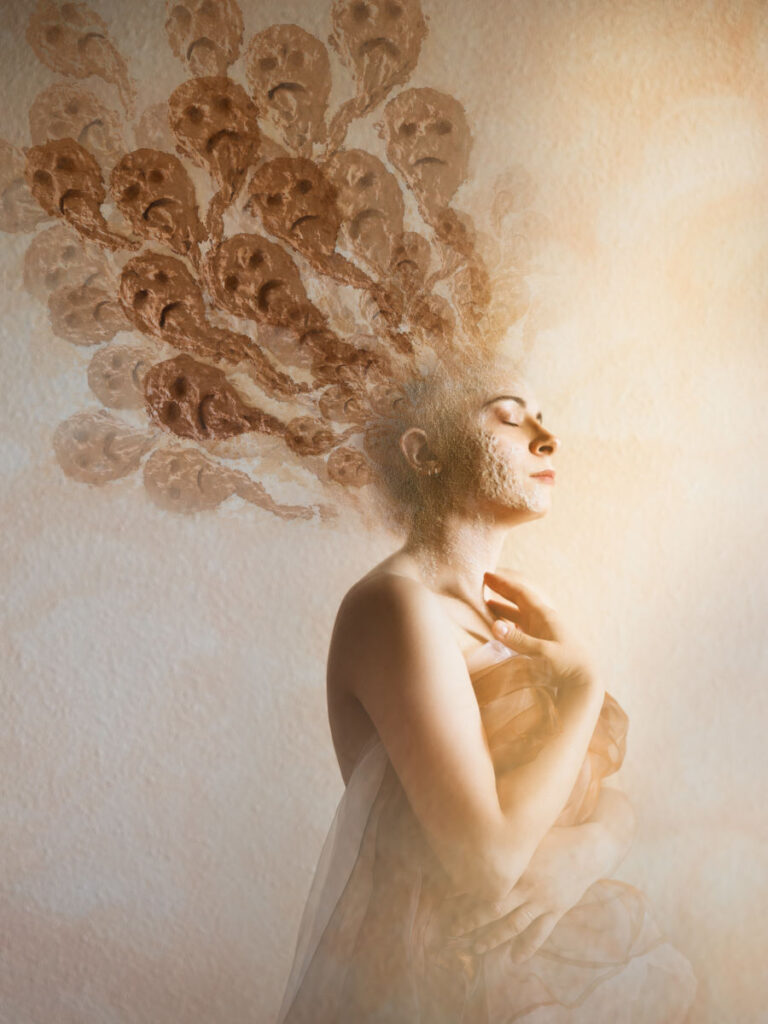
During the shoot I also used flour mixed with water to create textures on my face because I knew I wanted the final image to have a lot of different textures. Additionally, I felt this would help the demons that I wanted to create to blend better with the rest of the image. As for the demons, I created them with acrylic and something textured, I think it was salt, and photographed them to later merge them with the main image in Photoshop.
Post production
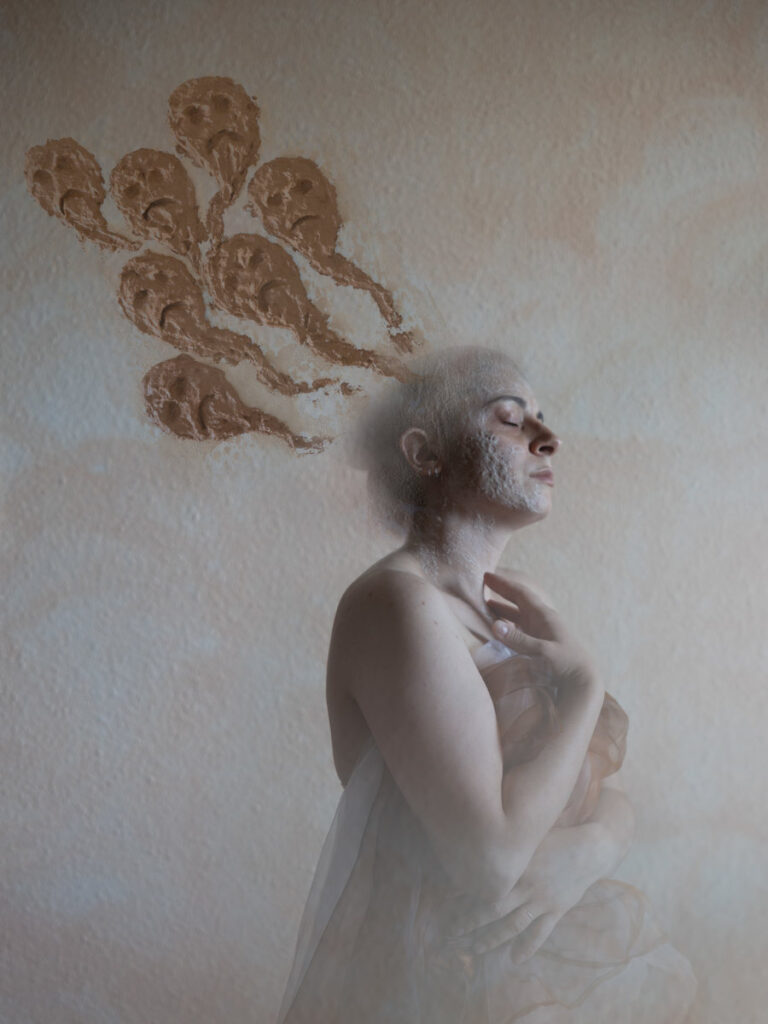
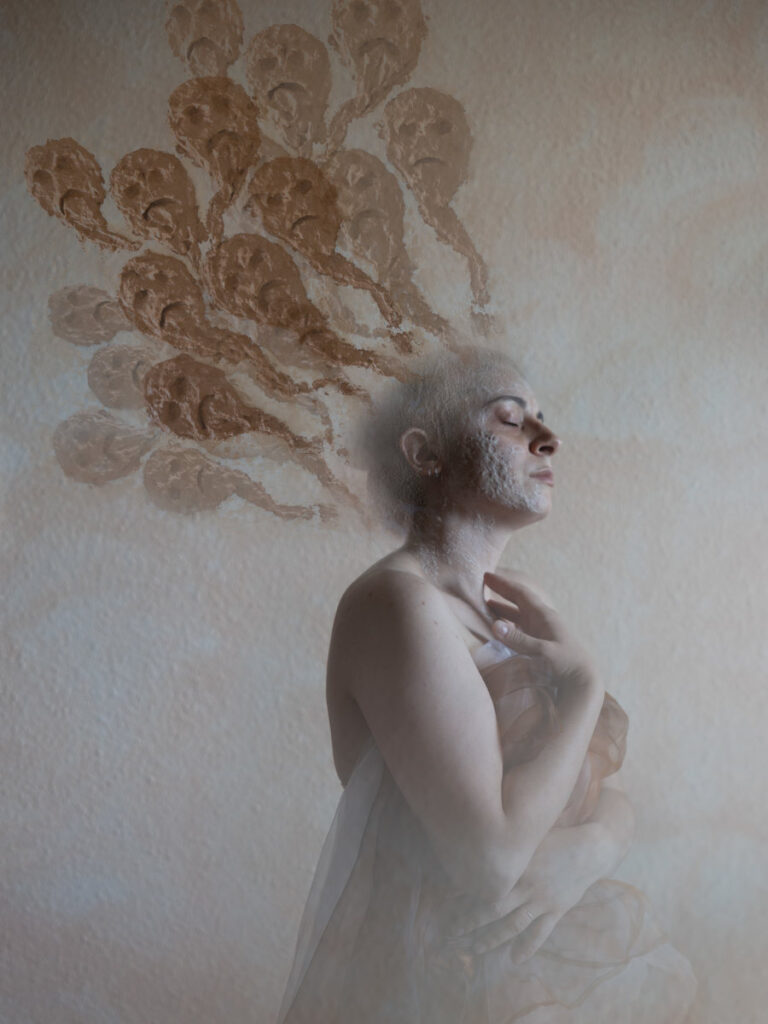
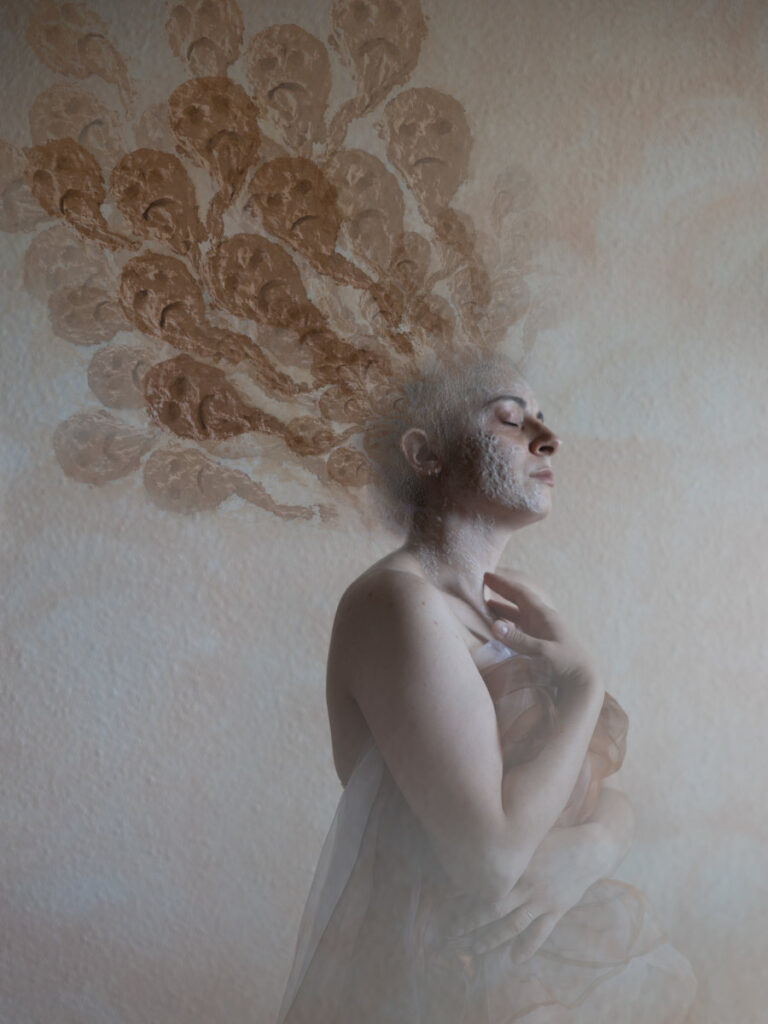
After taking the main image, I adjusted the colour and light and mixed in the little demons I created for this piece. This editing was the less complicated part of creating this work.
Creating the mixed media
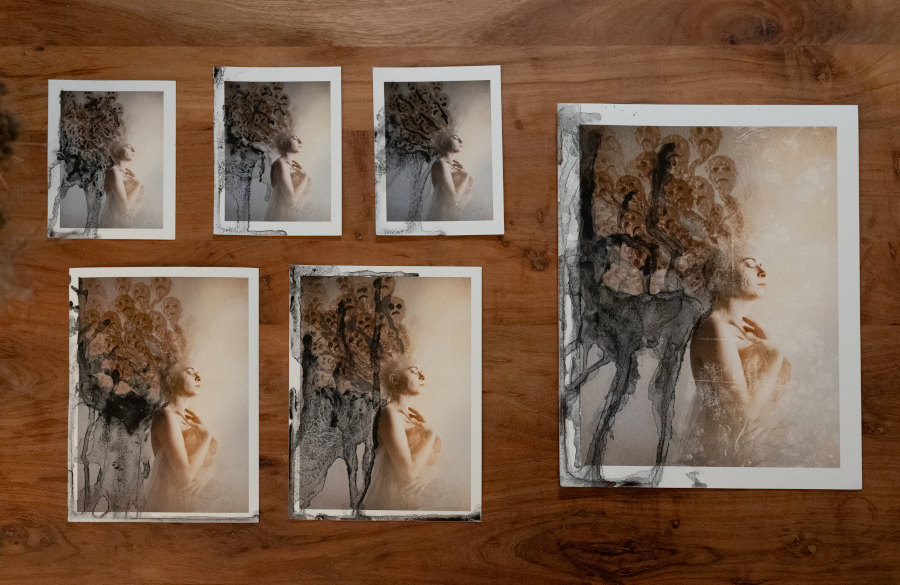
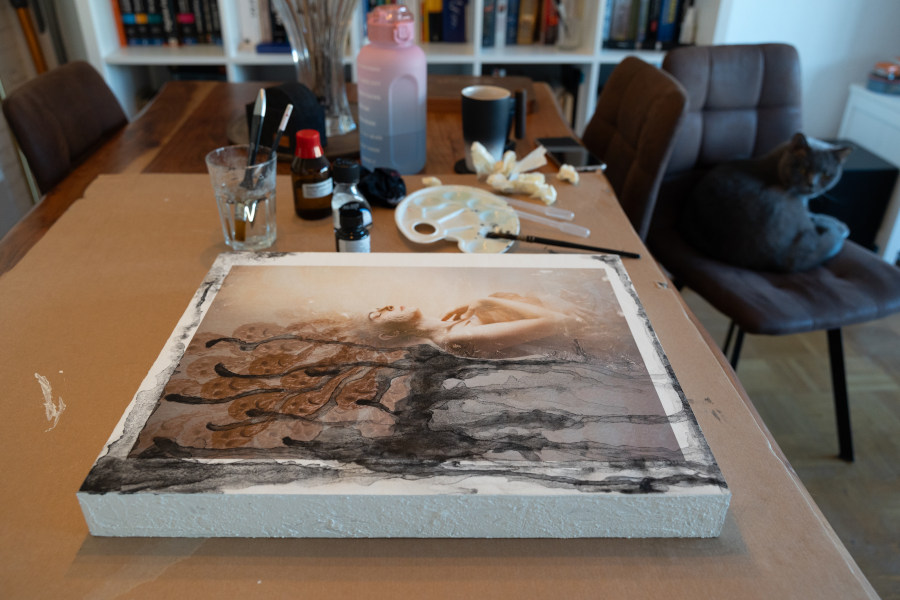
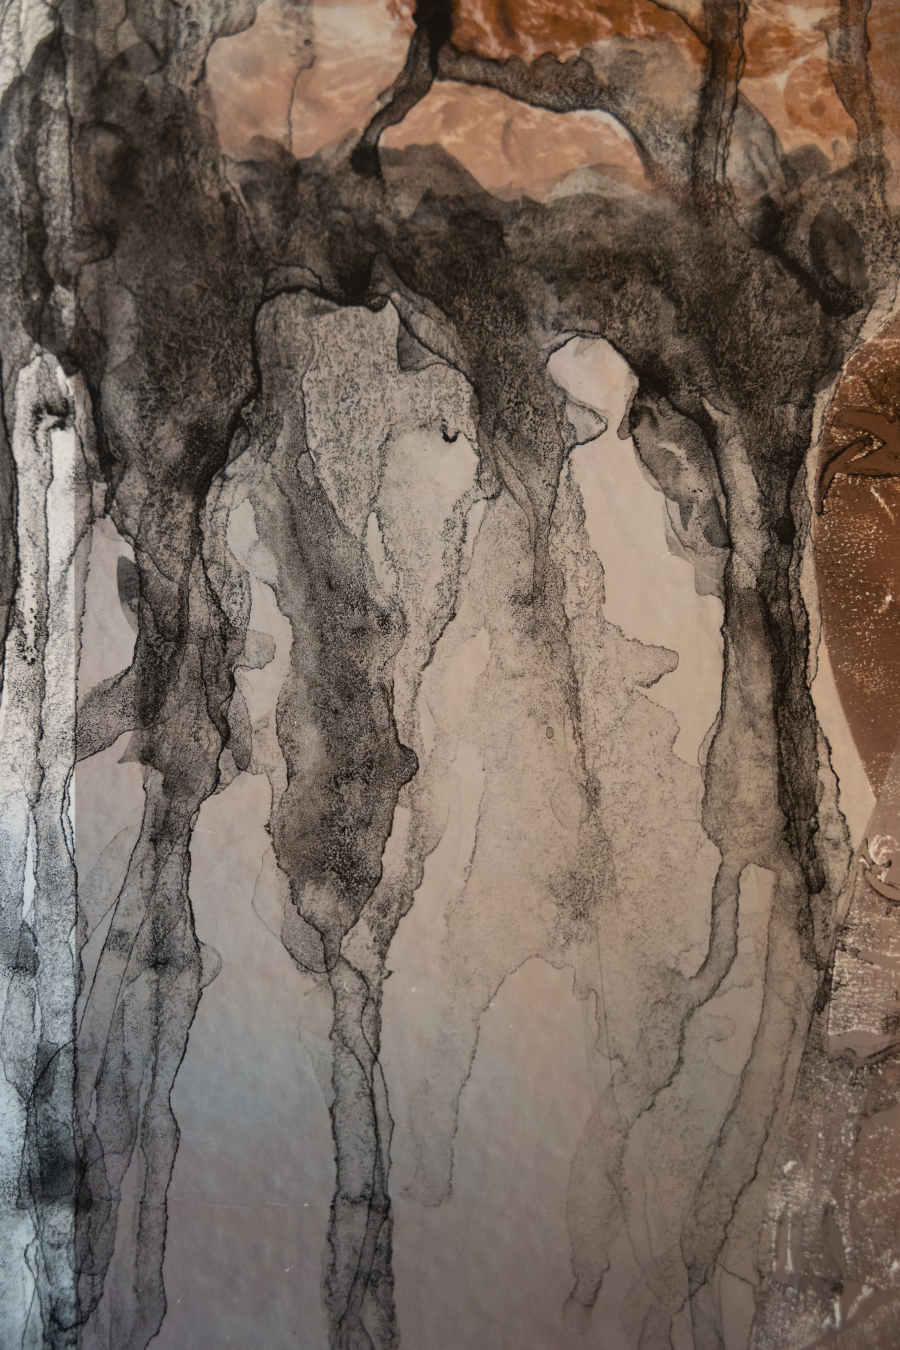
Since I wanted to create a mixed media piece with this concept, I first had to print it on the paper I use for most of my prints, Hahnemühle Museum Etching. I ordered a few smaller prints to see how the colours looked in print and if I needed to make any small adjustments. I also used the small prints to test the final piece. After a few small tests, I also printed a little larger to do some bigger tests. The idea was to add dark textures coming out of the heads of the demos, as if they were contaminating everything around them. I used ink and a granulation medium to granulate the ink and create these beautiful textures.
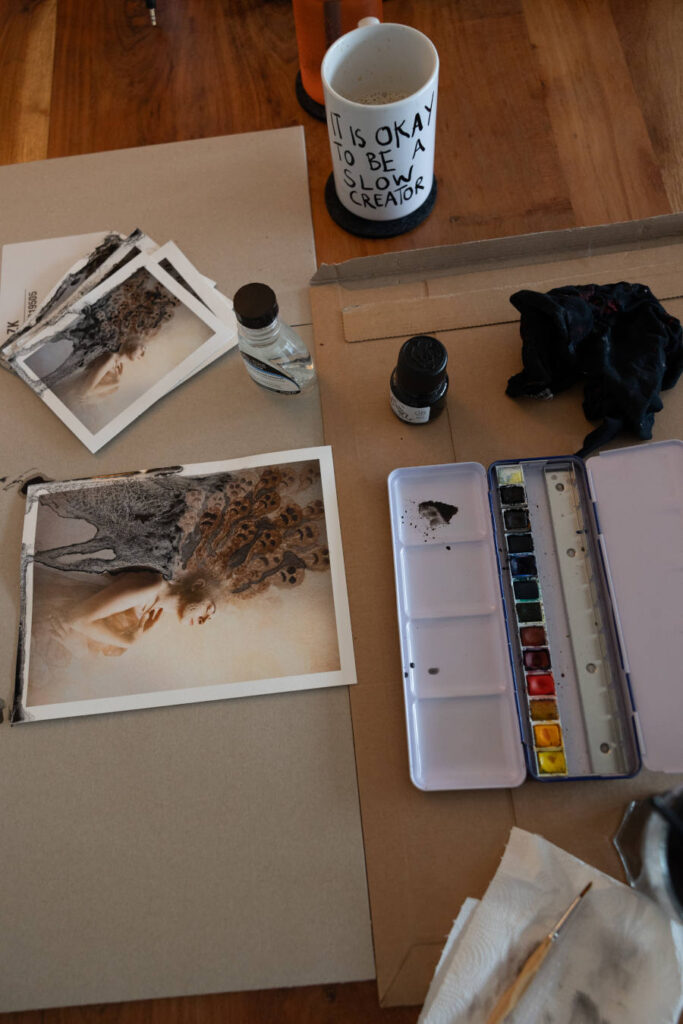
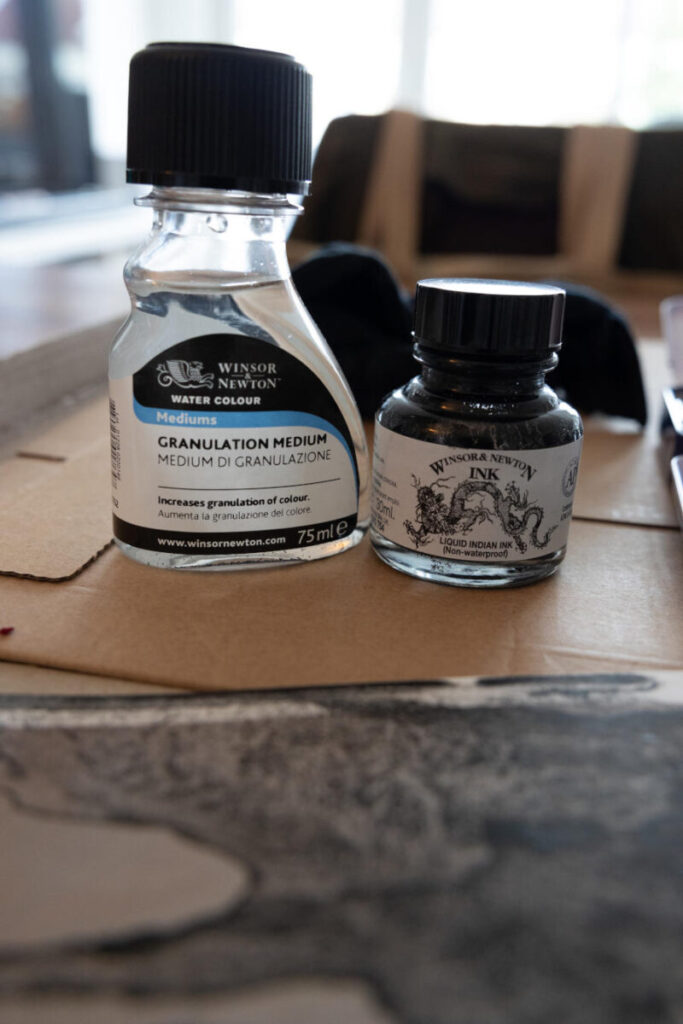
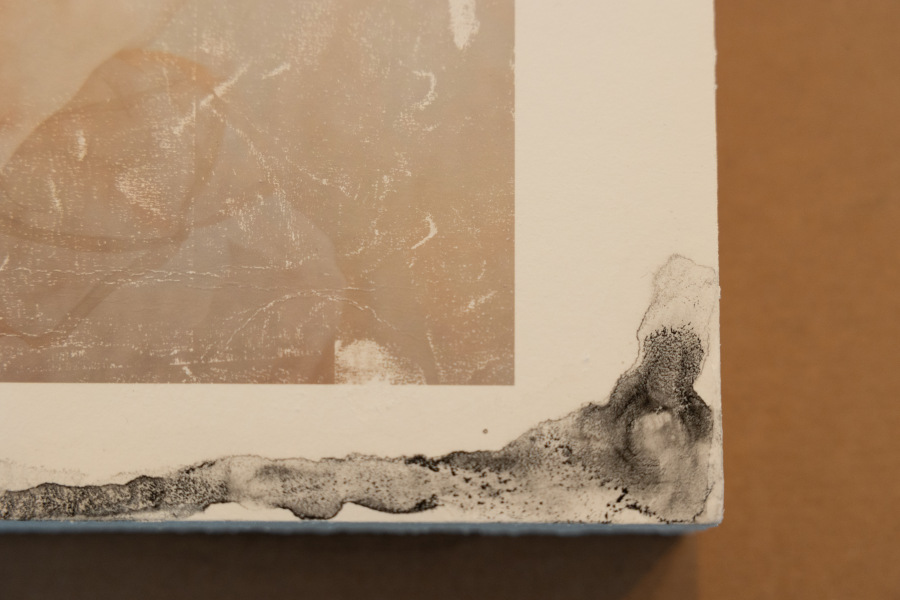
Finally, I was ready to make the final piece, so I printed it out to the size of a wooden board that I would glue it to. Since I wanted the sides of the board to match the textured feel of the image, I added texture with acrylic and flour. Then it was time to add the ink textures. I used the tests I did for inspiration. Since it is a fairly free and intuitive workflow, the end result is similar to the test, but unique in its own way. I also added tape to cover some parts of the image where I didn’t want the ink to go, and created some textures on those areas as well, since the tape would tear off parts of the print when I removed it.
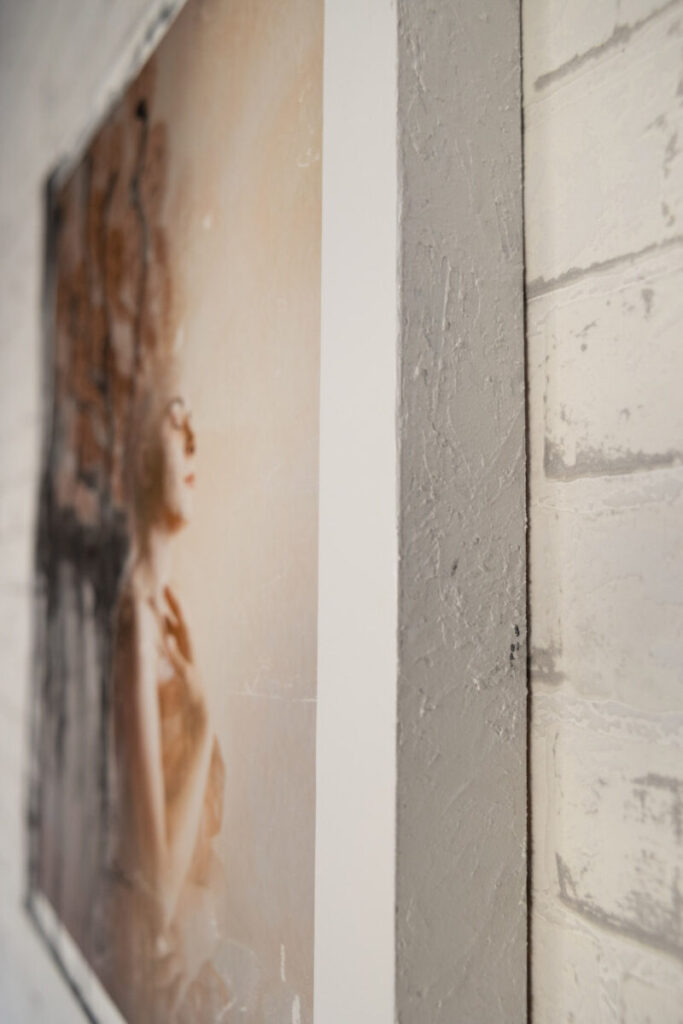
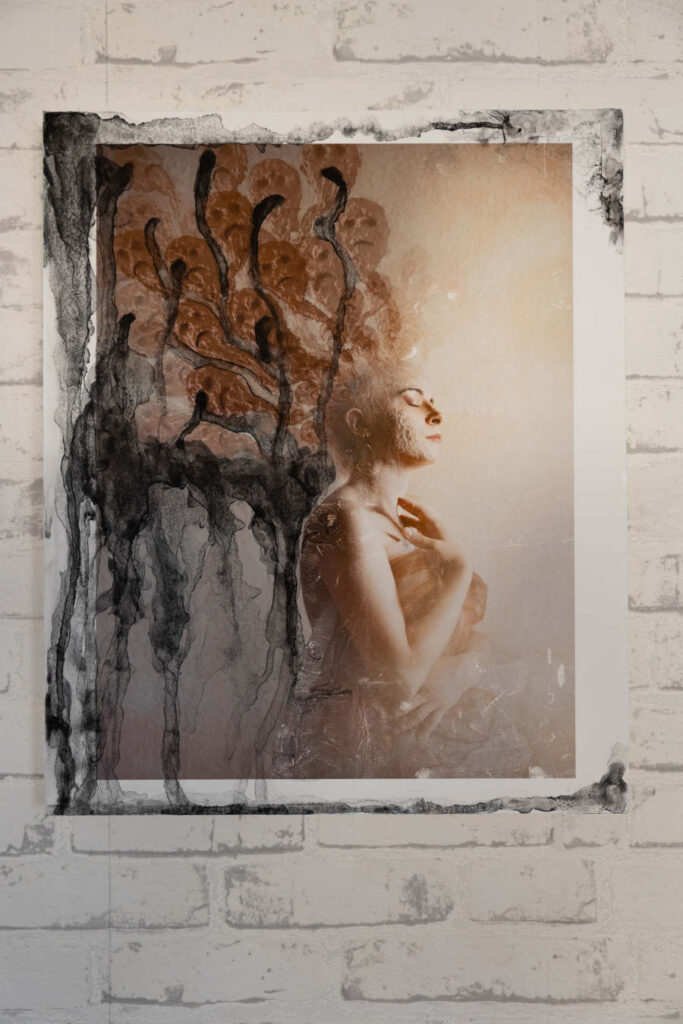
Here you can see close-ups of the final piece:
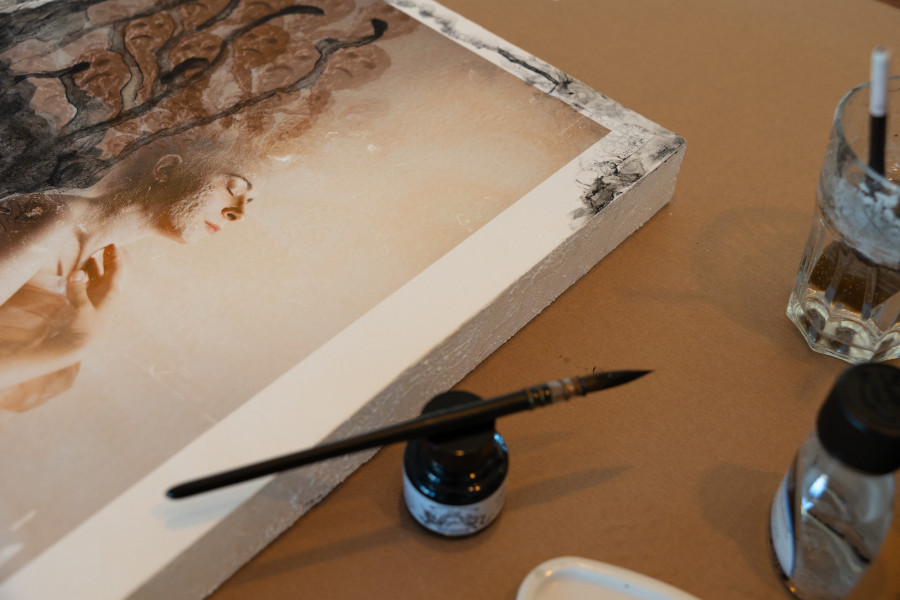
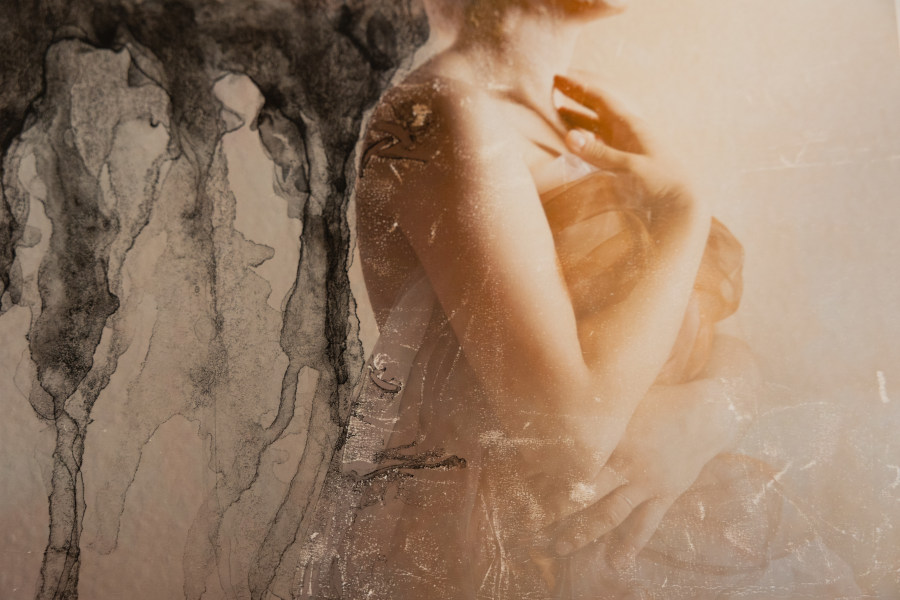
Normally it doesn’t take me that long to finish an artwork, but this one in particular I started in the summer of 2022 and finished in January 2024. I did many other artworks in between, but for this one, I took a break after each stage. The last stage of creating the mixed media took me the longest; I did small tests first, so I had to order the prints, do the tests, then order more prints, and so on.
After completing this piece, I feel like I learned a lot and took a step forward in the direction I want my work to go.
What I love about art is the constant experimentation and discovery of new and exciting things that you can add to enrich the artworks.

