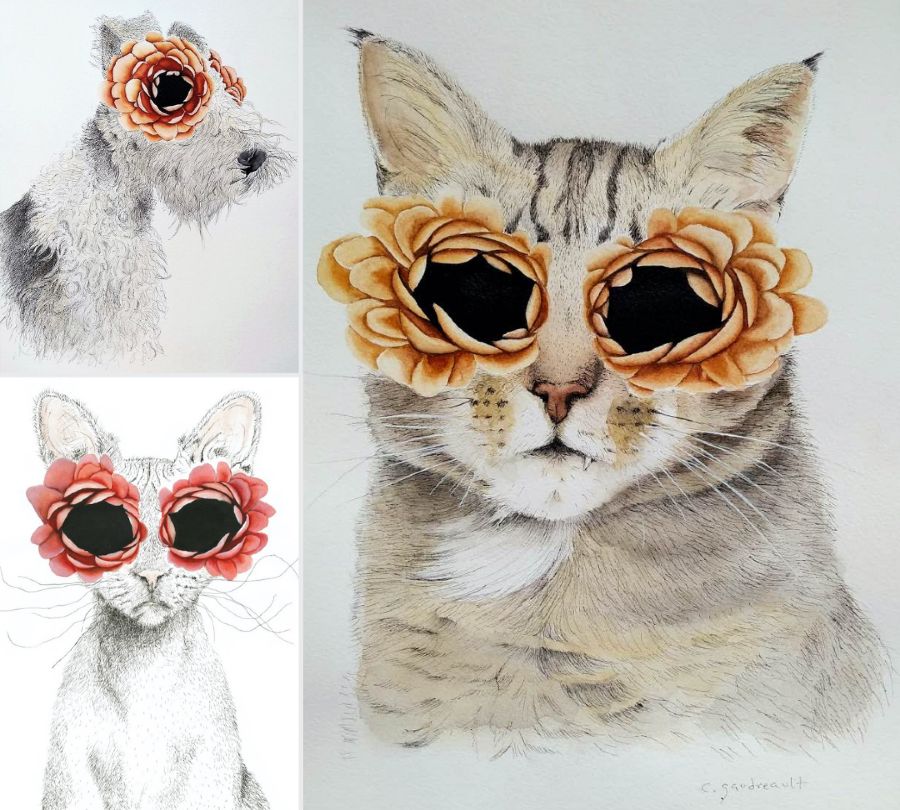
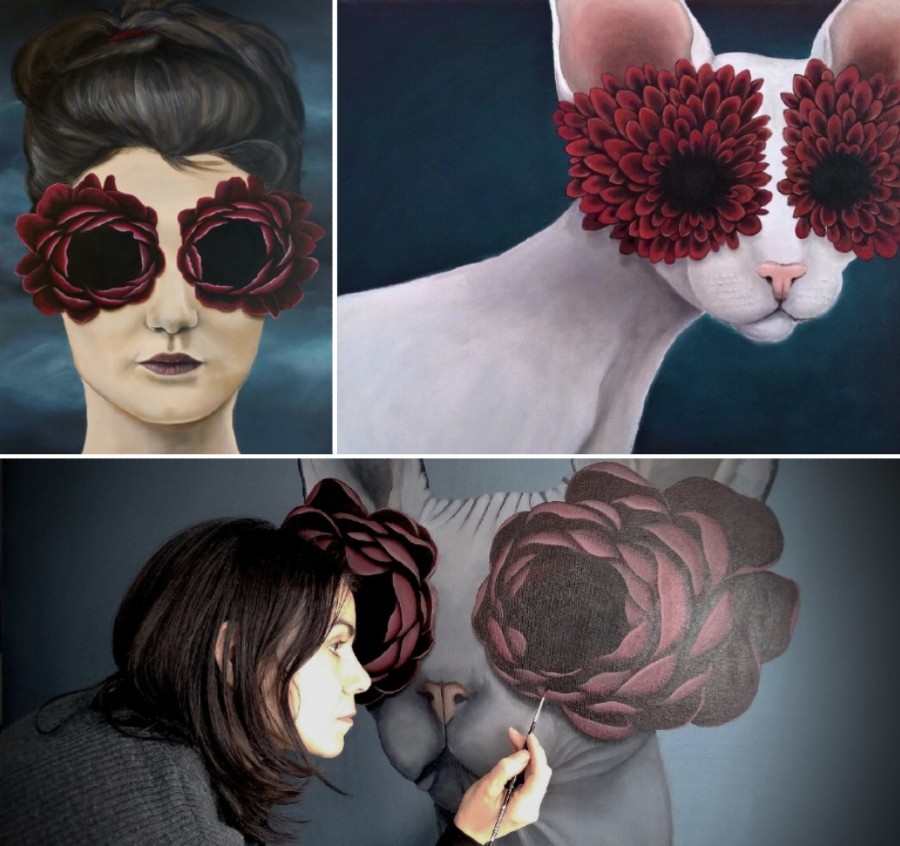
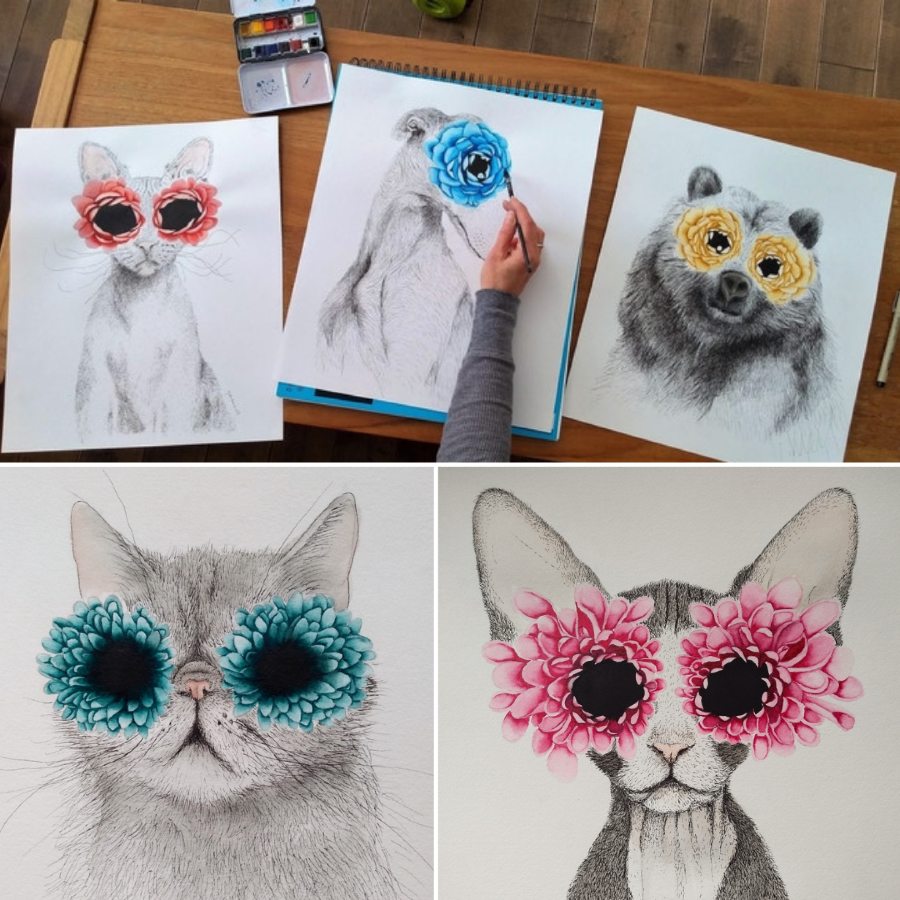
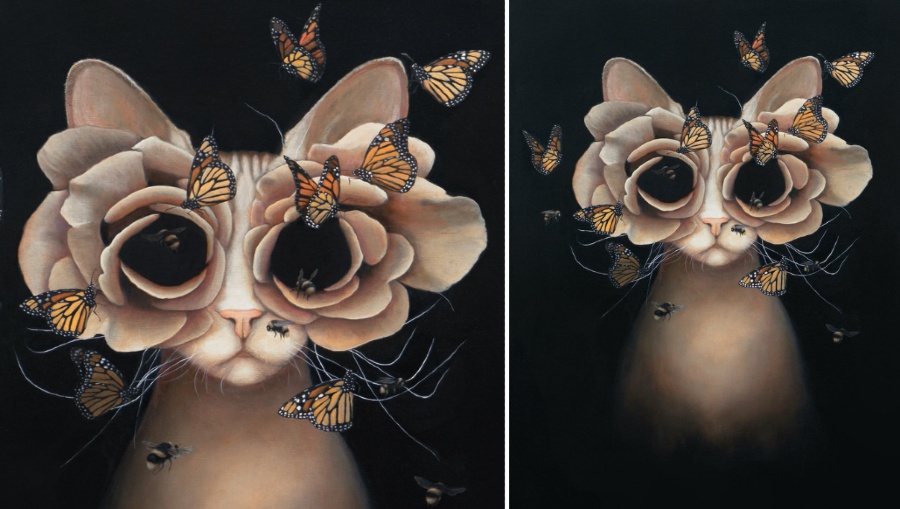
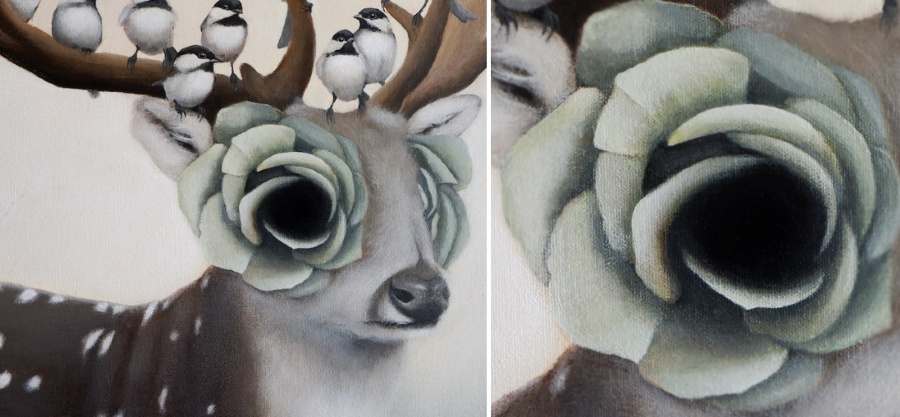
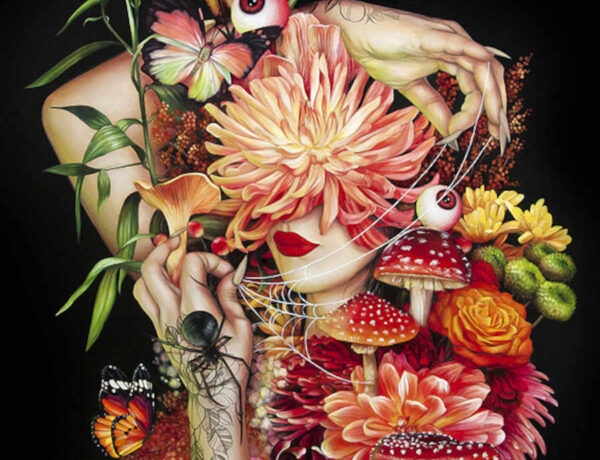
Consider the crucial series of events that a single plant – genetically programmed to bloom – must engage in during its ever-so-brief time on this earth. It emerges from the soil and tangos with the sun for days, weeks, and sometimes even months on end so that it may fulfill its earthly destiny – to entice pollinators with splashy jubilation. That life-affirming, come hither master plan ensures species perpetuation while at the same time it also triggers inevitable expiration. Caroline Gaudreault explains that the floral-orbed beings in her paintings – inspired by Día de los Muertos imagery – bloom with vitality and yet they still remind the beholder “that every living being must die one day, whether they are aware of it or not.”
Oh gee. Caroline Gaudreault’s portraiture is a ‘for whom the bell tolls’ kinda thing?…because – lah-lah-lah – let’s all think about a fluffy hamster crocheting a teeny little lap blanket, instead! The lush, alluring flowers blooming from her subjects’ fields of vision actually offer us an aesthetic and even joyful counterbalance to the inescapable fact that the journey of life leads to death. The Quebec-based painter elaborates: “I am trying to bring beauty” to an otherwise somber certainty. “This theme and this imagery appeals so much to me because despite everything, I portray characters that still seem happy.”
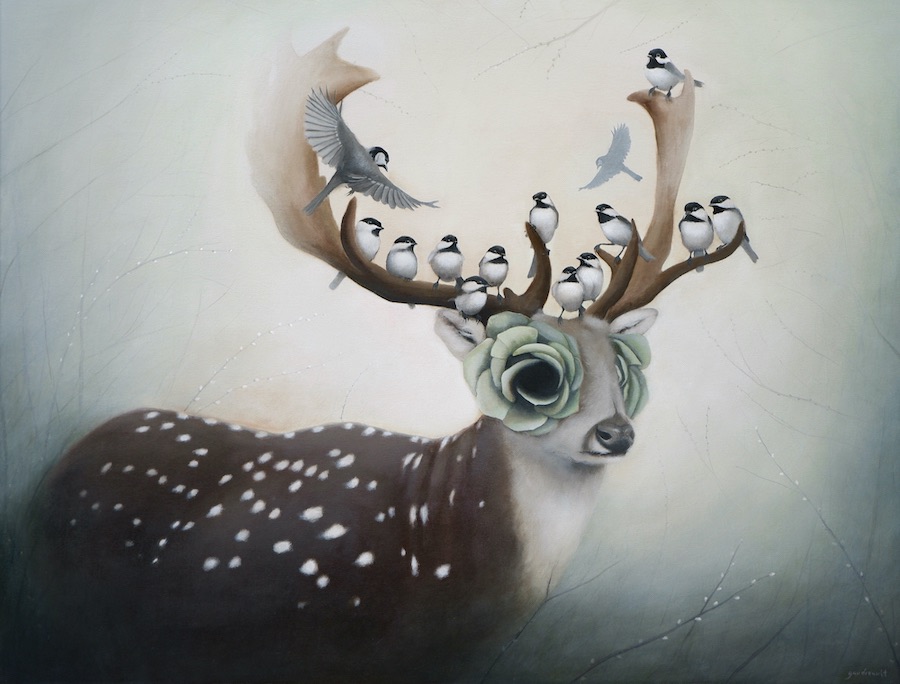
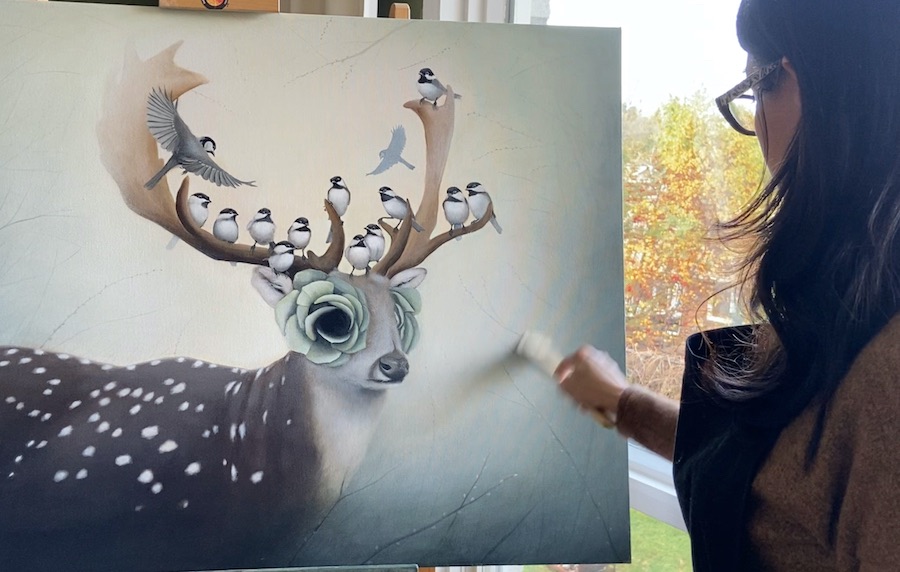
Let’s keep running with the very welcome notion of painterly optimism by seeing how Caroline Gaudreault’s latest blossom-eyed beauty, Chickadeer, evolved from inspiration to execution. This exclusive behind-the-scenes peek into her creative process is so wonderfully thorough that you may very well be inspired to try your hand at transforming acrylic paint into a seemingly fragrant, petal soft, and oh-so-lovely symbol of vis vitae. We’re so glad that you’re joining us today! Caroline’s studio is this-a-way…
Revealing the preliminary stages of one’s work can feel a little uncomfortable, particularly because it is hard to imagine how the ‘ugly duckling’ will ultimately transform into a swan.
Inspiration For Chickadeer Painting
I usually have dozens of ideas for new works of art. Most of the time, however, I don’t even use them because exciting new concepts enter my mind on a regular basis. The allure of developing my newest ideas tends to be irresistible. Since I am a slow, methodical painter though, I typically end up with more ideas than finished paintings.
My artwork is often inspired by wildlife encounters among various other daily situations. When the pandemic started, my family and I used to go on hikes several times a week. During one such wintertime excursion, the idea for my Chickadeer painting struck me.
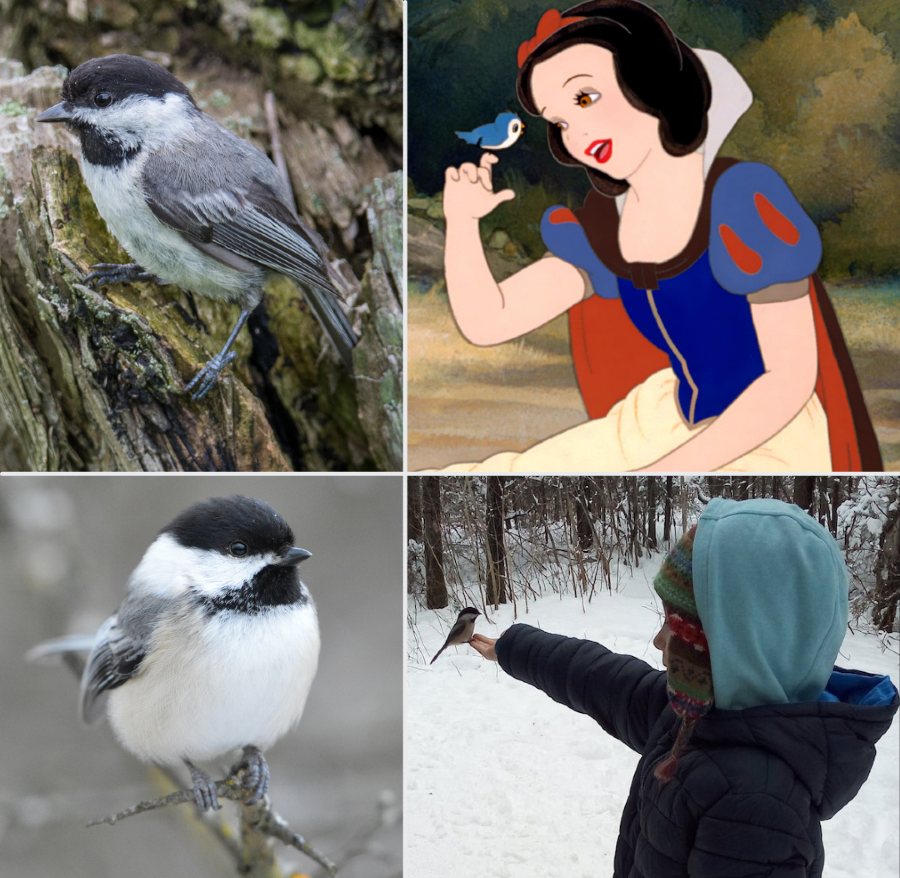
While walking along a trail in the forest, a few chickadees were circling around us. They were in close proximity to my son Emilio, who extended his hand. Remarkably, some of the birds repeatedly perched on him. I realized afterwards that chickadees in that region are accustomed to hikers since they have year-round access to several bird feeders there. Of course, witnessing that seemingly “Disneyesque” incident – starring such beautiful, irresistibly enchanting little creatures – was fascinating to us.
Emilio exudes serenity and wisdom, plus he is quite connected to nature and animals. It’s not a stretch to say that he literally worships them. He quite often saves insects, ensuring that they are relocated to a safe place. Even when my son was just 1 ½ years old, people would stop me in public places to tell me that he had such a special and serene look on his face.
Keeping the spirit of my son in mind, I decided to personify his essence as a youthful deer with his antlers covered in chickadees. Since Emilio is still young, I decided to represent him as a white spotted a deer. I convey his calm and wizened demeanor in the mature forest backdrop of my painting.
When I’m working on the drawing that will become the foundation of my painting, I don’t mind the evolutionary process that occurs. Various changes happen along the way, some of which are serendipitous.
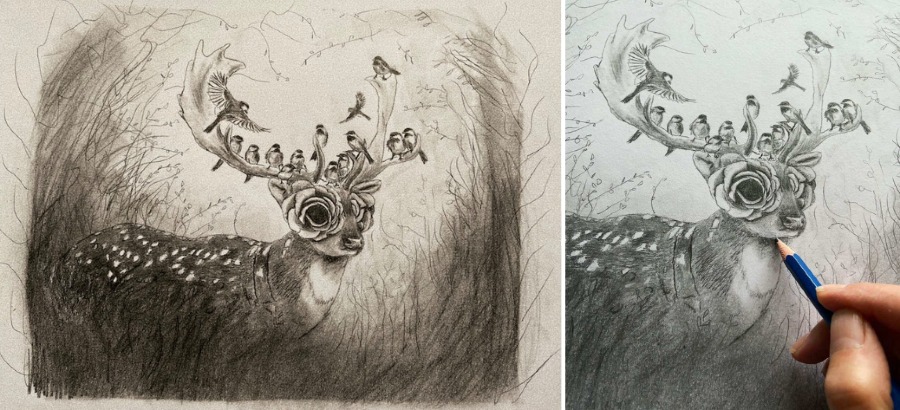
Preparatory Sketch For Chickadeer Painting
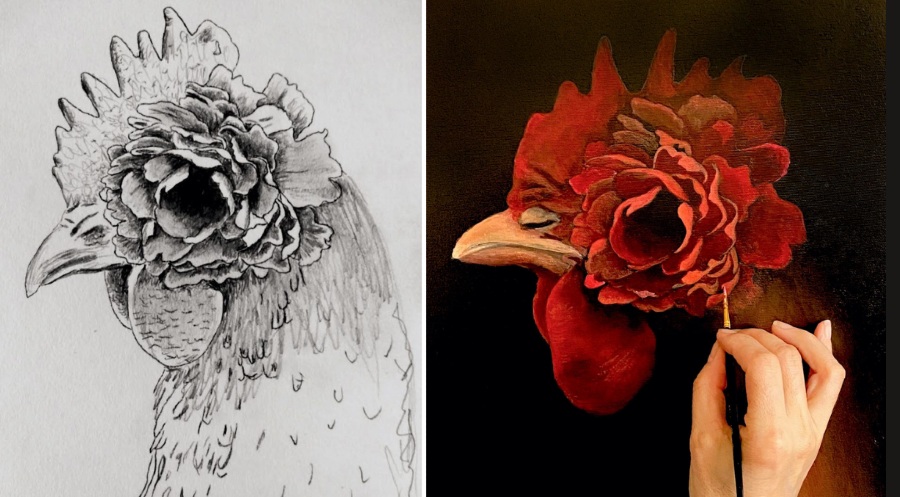
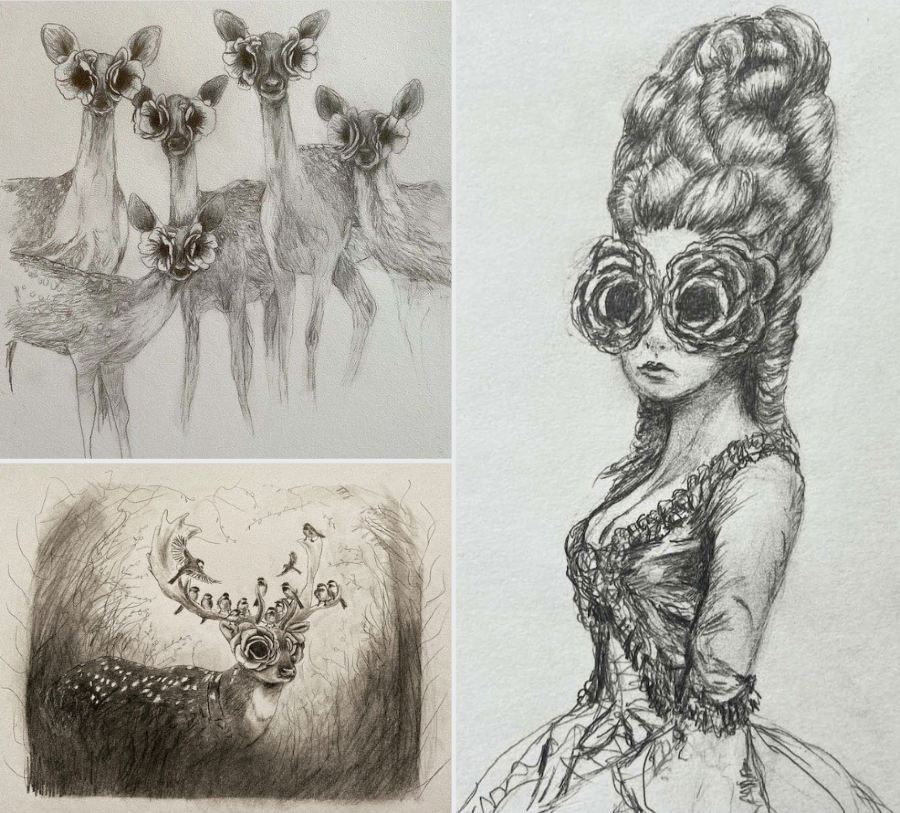
Before creating a painting, I often do graphite sketches to see if my idea is aesthetically feasible. Some concepts seem great in theory but once I commit them to paper, they end up looking totally ridiculous. When that happens, I modify my idea…or abandon it…or occasionally even revisit it at another time when I can view it through a different lens.
This actually happened during the idea phase of my painting Sanctuary. I had created my preparatory sketch for it a while back, ended up abandoning it, and then one day I felt inspired to finally commit it to canvas.
Reference Photos
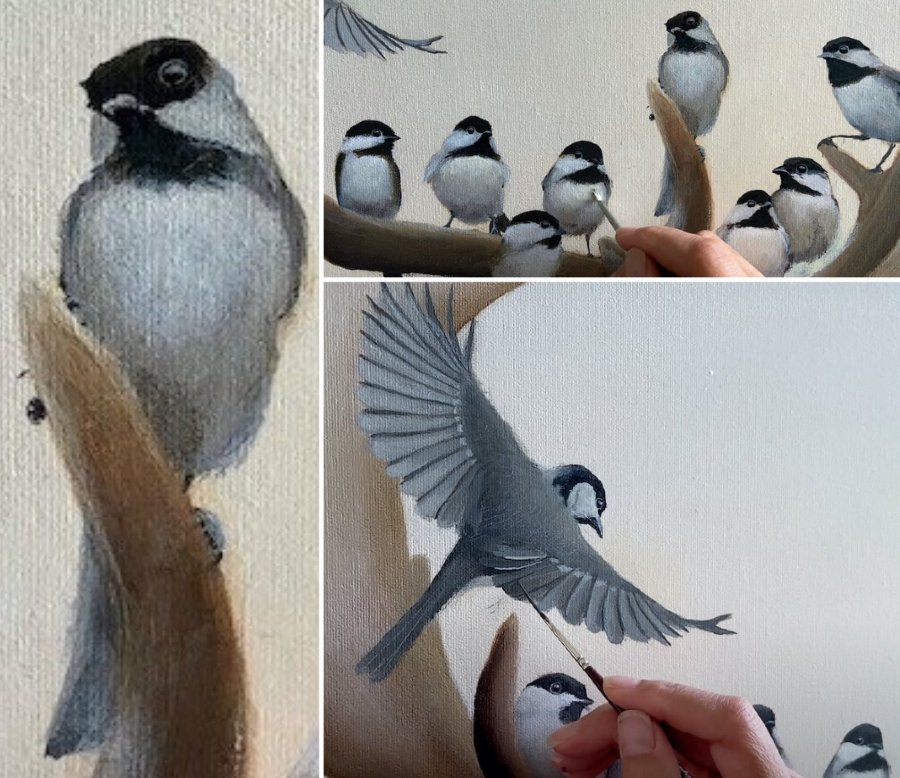
Reference photos are an excellent resource for artists. I am not always familiar with how to accurately represent the physical structure, proportions, and aesthetic nuances of all animals. Sometimes I use free licensed photos, or I purchase photos, or – when possible – I use my own photos. The birds perched on my deer are true-to-life since they’re the exact species that my family and I encountered during our forest walk. I studied various photos of black-capped chickadees to get all of the details right.
While I appreciate incorporating realistic details into animal portraiture, I always enjoy adding my own flourishes to the creatures that I end up committing to canvas. The deer in my painting is a creative hybrid based on features that I gleaned from assorted photos. I probably invented a new species since I was so inspired by the diversity of facial features, antlers, etc. that exist in the wild kingdom.
I don’t know if it’s the same for other artists who work on the same canvas for a long time, but for me, at some point in the manifestation of a painting, I almost always think that my work is either not appealing, or ridiculous, or that I have somehow failed.
Color Palette
In a single work of art, I rarely incorporate more than 6 different colors. Making my own color blends based on primary colors, white, black and – depending on the piece – raw or burnt umber is an enjoyable part of the creative process for me. There is a little bit of raw umber in almost every Chickadeer color mix.
The Background
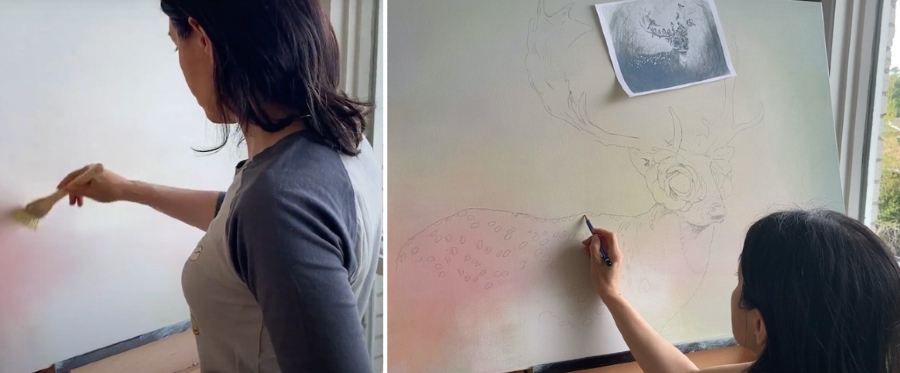
Since I work with rapidly drying acrylics – and I often try to get the background gradient just right – I always paint a complete background on my canvas before reproducing my sketch on top of it. I build my background with areas of lights/shadows/reference points so that they are in the right place on my painting. As my work of art progresses, I always tweak the background a bit.
Reproduction of Chickadeer Sketch on Canvas
Once the background of my painting is completely dry, I sketch the general details of my composition directly on my canvas in pencil. That is my least favorite part of the creative process, so I tend to rush it so I can begin painting just a little bit sooner.
I used to create very general sketches – with just the outlines of my subjects – rather than detailed reproductions. That ended up being a precious waste of time since I inevitably had to redraw those details with paint. If I made proportional or volume mistakes, I frequently had to start over in order to cover those errors. Now, I create slightly more detailed sketches without fail. I have found that building the volume of my various compositional elements directly on the canvas using paint helps me to achieve the best outcome.
Regarding the sketching process, I have found that projectors can distort image proportions. That’s why I occasionally divide my drawing into a grid for the most accurate reproduction. There are other times when I create a freehand sketch instead, which generally requires various tweaks along the way to get the proportions just right. When I’m working on the drawing that will become the foundation of my painting, I don’t mind the evolutionary process that occurs. Various changes happen along the way, some of which are serendipitous.
Almost every time while I’m working on a painting, I wonder how I’ll know when it is finished. Inevitably and without fail, however, I always just know.
Time To Paint My Subject
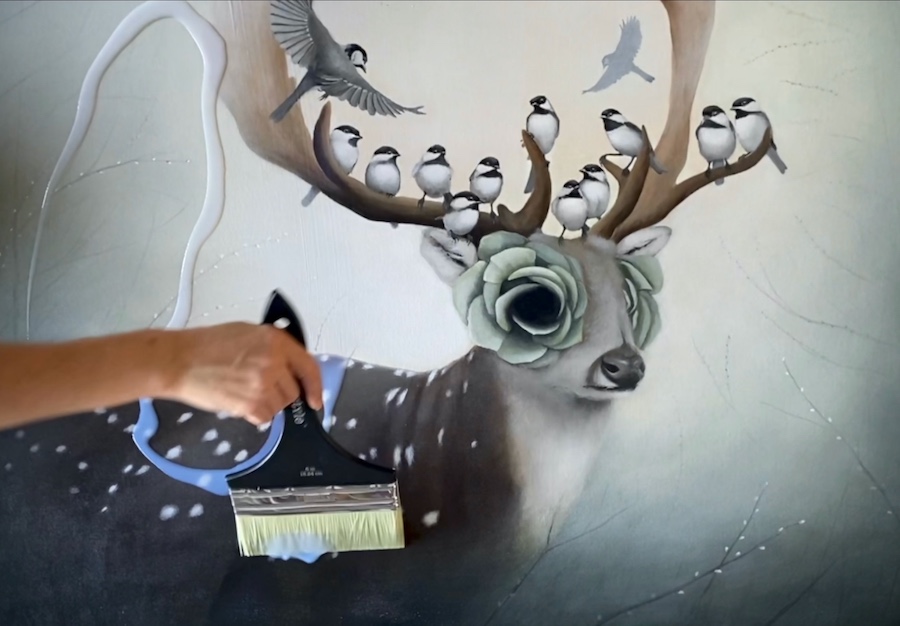
This is one of my favorite steps! This stage – which will result in my deer looking two dimensional – is mainly about placing a rough and thin darker layer of colors and tones here and there, completely filling in the first layer of its body. I have learned that this is not the time to be concerned about volume and realism. It is only later that I will lighten everything up by incorporating many new volume-building layers.
I must admit, however, that I did work a little bit more on my deer’s antlers because I knew that birds would end up perching on and around them. I realized that if I spent time now to ensure that its antlers were fairly worked in, my job would be a bit easier later. With each consecutive step, I always end up adding many more details to make such a prominent feature look realistic.
Succession of Thin Layers
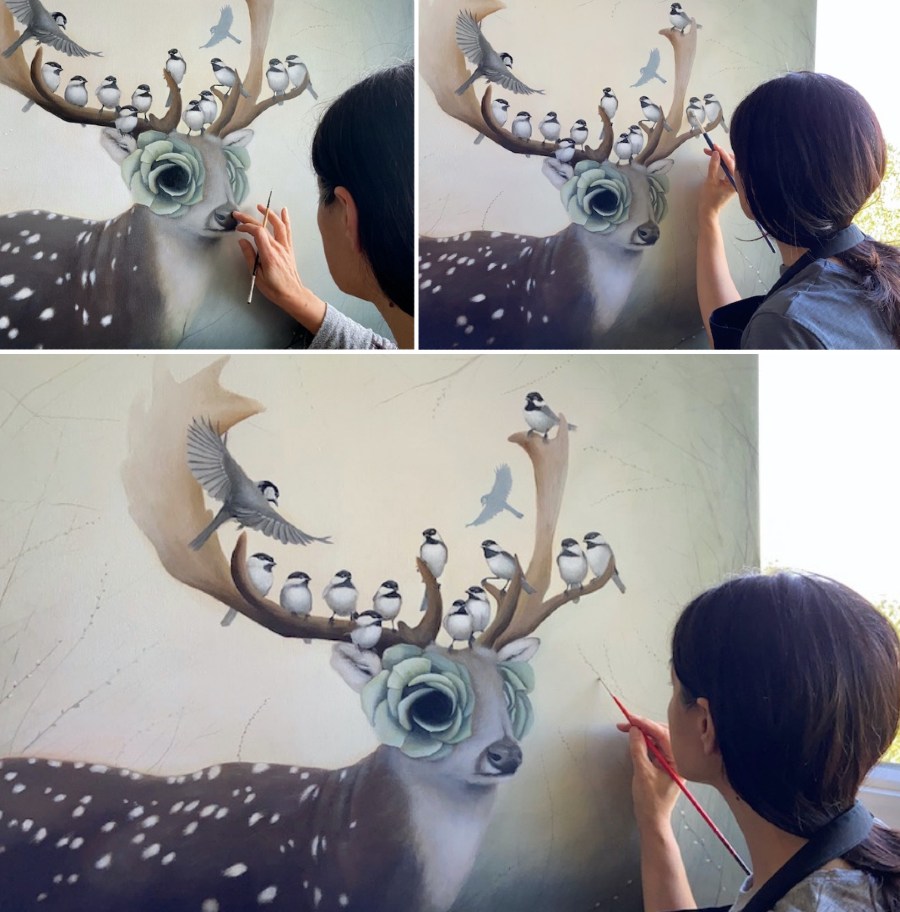
I’ve observed many artists who carefully paint each part of their painting inch by inch until their entire canvas looks perfect. I don’t work like that. I prefer starting rough and then refining as I go along by adding layers of paint and details all over the surface of the painting.
Once the first layer of paint completely covers the canvas, it’s admittedly not so pleasing to the eye. Even though I know that everything will be fine with the addition many more paint layers, at that moment, I can’t help but feel a little panic. Fortunately, a long succession of extremely thin layers of fluid paint begins to give shape to my subject. During this stage (almost the entire painting), I work on the various parts according to my mood.
As the creative process progresses, I am able to refine volumes, light-darkness, and reflections. It is only at the very end that I add the small details and define the contours. I almost never finish one part before the other.
The allure of developing my newest ideas tends to be irresistible. Since I am a slow, methodical painter though, I typically end up with more ideas than finished paintings.
Trees and Branches
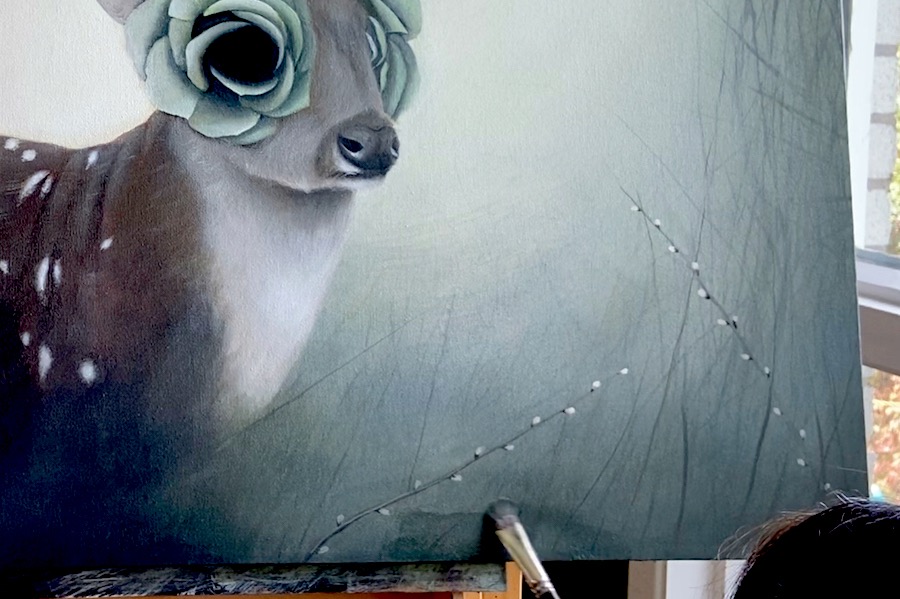
I wanted to achieve a hazy forest ambiance in Chickadeer. Since I didn’t want the twigs to be too defined, I used glazes to cover them with mist. I painted fairly defined branches on my background first, and then I alternated layers of branches and glaze to achieve the morning mist effect. Finally, I painted some more defined branches in the foreground to finish the scene.
Disillusionment and the Urge to Give Up
I don’t know if it’s the same for other artists who work on the same canvas for a long time, but for me, at some point in the manifestation of a painting, I almost always think that my work is either not appealing, or ridiculous, or that I have somehow failed. That’s always a good sign to leave it alone for several days and do something completely different. I even avoid looking at it! When I revisit it later, I generally make some changes and adjustments that help me to fall in love with it again. That’s when I become especially motivated to finally finish it.
Final Chickadeer Details
Almost every time while I’m working on a painting, I wonder how I’ll know when it is finished. Inevitably and without fail, however, I always just know. As long as there are details that seem unfinished, I continue working. In the end, I methodically review each element on my canvas and refine everything so that it appears very polished.
When I believe that my painting is finished, I apply acrylic paint to the perimeter borders of my canvas in a complementary color that matches its background. I paint most of my artworks on gallery size canvas (with at least a 1.5 inch border), so they don’t need to be framed.
This theme and this imagery appeals so much to me because despite everything, I portray characters that still seem happy.
Varnishing
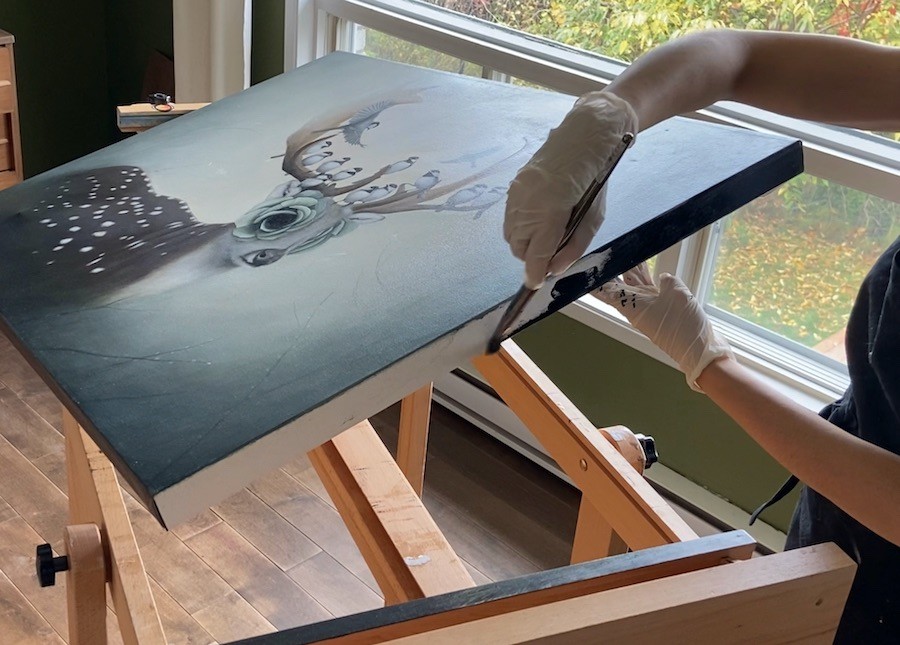
Even though acrylic-based paintings don’t require varnish, I apply a glossy topcoat to my works of art without fail because I believe that it enhances their appearance. For a nice uniform finish, I like to apply several coats. Even though it is a fairly long and laborious step, the end result is well worth it. There is nothing more exciting and satisfying than seeing the dramatic contrasts that emerge amid the first coat of varnish.
At the same time, however, applying varnish to a painting is really frightening since it has two notorious enemies: air and dust/pet hair.
Air: Acrylic varnish dries so fast that it is really very difficult to apply on large acrylic paintings. You have to work fast, with sure motions, and above all, you can NEVER return to the areas where you initially applied varnish because the finish becomes compromised almost immediately.
Dust/pet hair: I have three cats! Prior to applying each coat of varnish, it can be quite time-consuming to carefully vacuum all floors and surrounding areas to ensure that no dust or particles are present. That’s why I always try to varnish several paintings at the same time.
Completed Chickadeer Painting
Revealing the preliminary stages of one’s work can feel a little uncomfortable, particularly because it is hard to imagine how the ‘ugly duckling’ will ultimately transform into a swan. An artist may wonder, “Am I going to successfully manifest this concept?”
I am happy to say that Chickadeer has been sold, so it makes me believe that I achieved my goal, which is very encouraging. It’s been an honor to reveal the many steps of my artistic process to Beautiful Bizarre Magazine’s readers. Thank you for following along!


